Aha!
The Aha! modules enable you to monitor, create, retrieve, update and delete features or ideas in your Aha! account.
Getting Started with Aha!
Prerequisites
- An Aha! account
In order to use Aha! with Integromat, it is necessary to have an Aha! account. If you do not have one, you can create an Aha! account at www.aha.io.
Connecting Aha! to Integromat
To connect your Aha! account to Integromat you need to obtain the API Key from your Aha! account.
1. Log in to your Aha! account.
2. Click the cogwheel in the top-right corner ( ) and go to Personal > Developer.
3. Click the Generate API Key button, enter the name of the API Key, and click Generate API Key.
4. Copy the generated API Key.
5. Go to Integromat and open the Aha! module's Create a connection dialog.
6. Enter the API Key you have copied in step 4 to the respective field and click the Continue button to establish the connection.
The connection has been established. You can proceed with setting up the module.
Triggers
Watch New Activity
Triggers when a specified activity is performed.
The webhook URL needs to be generated in Integromat and then added to Aha!'s integrations settings.
1. Add the Watch New Activity module to your Integromat scenario.
2. Generate and copy the webhook URL.
3. Log in to your Aha! account.
4. Open Settings > Workspace.
5. Click the New Integration button.

6. Go to the API Section and click +Activity webhook.
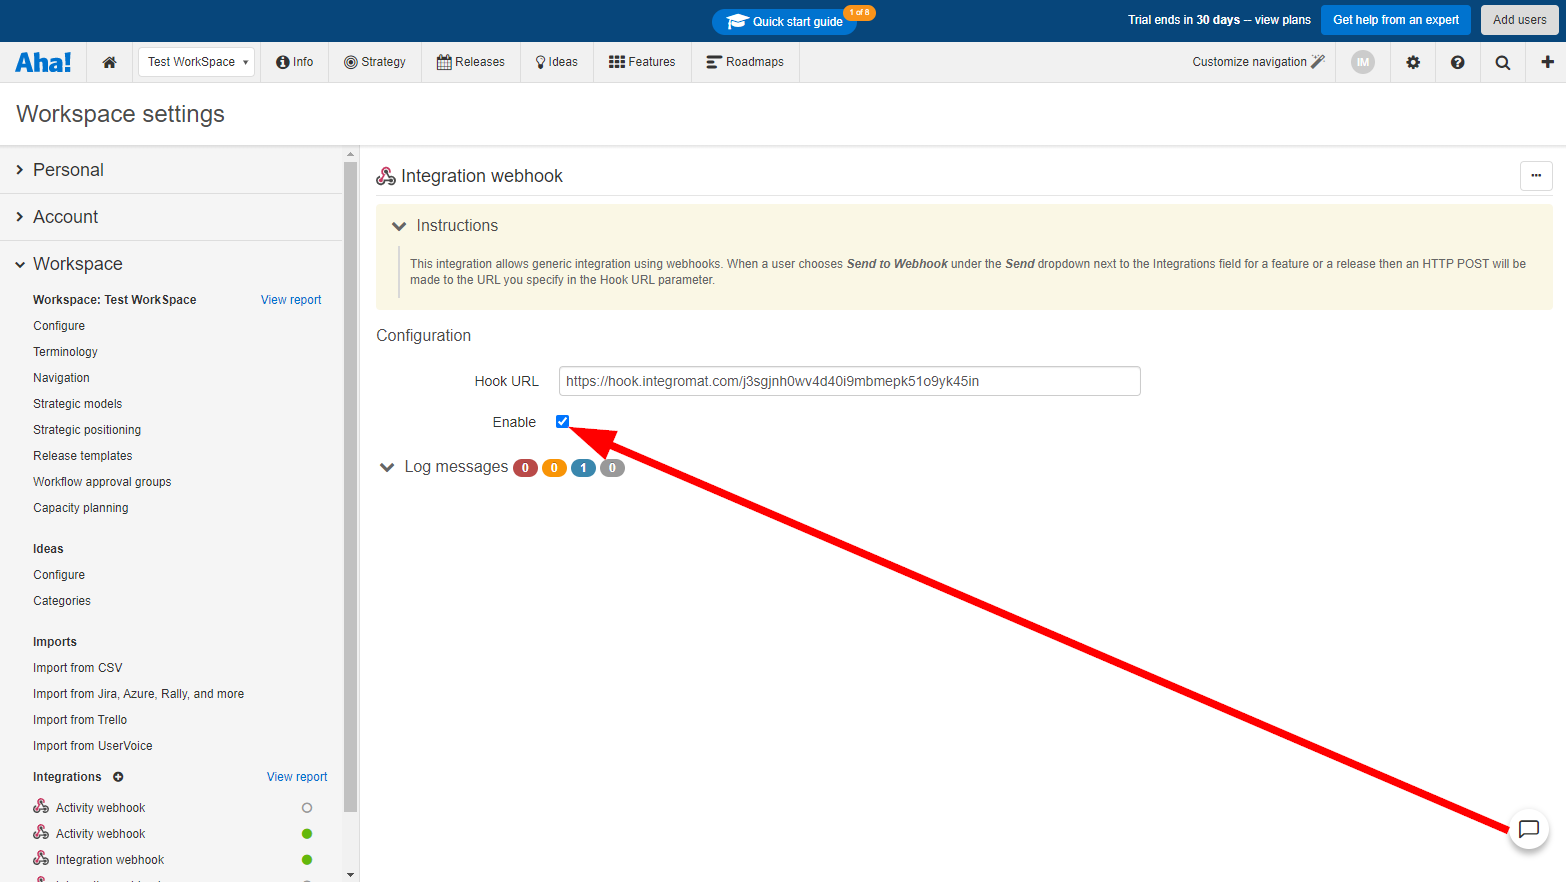
7. Enter the webhook URL you have copied in step 2 above to the Hook URL field.
8. Select the activities you want to watch or leave the default setting to watch all activities in your workspace.
8. Check the Enable checkbox to activate the webhook.

Now, every time the activity is performed, the Watch New Activity module in your Integromat scenario is triggered.
Watch a New Feature
Triggers when a new feature is created.
The webhook URL needs to be generated in Integromat and then added to Aha!'s integrations settings.
1. Add the Watch New Feature module to your Integromat scenario.
2. Generate and copy the webhook URL.
3. Log in to your Aha! account.
4. Open Settings > Workspace.
5. Click the New Integration button.
6. Go to the API Section and click +Integration webhook.
7. Enter the webhook URL you have copied in step 2 above to the Hook URL field.
8. Check the Enable checkbox to activate the webhook.
Now, every time a new feature is created, the Watch New Feature module in your Integromat scenario is triggered.
Actions
Create a Feature
Creates a new feature.
| Connection | Establish a connection to your Aha! account. |
| Product ID | Select the product or map the ID of the product that contains the release you want to create a feature for. |
| Release ID | Select the release or map the ID of the release you want to create a feature for. |
| Name | Enter the name of the new feature. |
| Workflow Kind | Select the type of feature. |
| Workflow Status | Select the status of the feature. |
| Description | Enter the description of the feature. HTML formatting is supported. |
| Created By | Enter the email address of the user that created the feature. |
| Assigned To User | Enter the email address of the user that the feature is assigned to. |
| Tags | Specify the tags you want to assign to the new feature. |
| Original Estimate Text | Enter the original estimated effort in a text format. You can use d, h, min (or 'p' for points) to indicate the units to use. |
| Original Estimate | Enter the original estimated effort in minutes. |
| Remaining Estimate |
Enter the remaining estimated effort in minutes.
|
| Start Date | Enter the date on which the work on the feature will start in the YYYY-MM-DD format. |
| Due Date | Enter the date on which the work on the feature is due to be completed in the YYYY-MM-DD format. |
| Release Phase | Enter the name or ID of the release phase which the feature belongs to. |
| Initiative | Enter the name or ID of the initiative which the feature belongs to. |
| Progress Source | Select the source for calculating progress on the feature. |
Get a Feature
Retrieves feature details.
| Connection | Establish a connection to your Aha! account. |
| Feature ID | Enter (map) the ID or select the feature you want to retrieve details about. |
Update a Feature
Updates an existing feature.
| Connection | Establish a connection to your Aha! account. |
| Feature ID | Enter (map) the ID or select the feature you want to update. |
Please find the descriptions of the fields in the Create a Feature section above.
Delete a Feature
Deletes a specified feature.
| Connection | Establish a connection to your Aha! account. |
| Feature ID | Enter (map) the ID or select the feature you want to delete. |
Create an Idea
Adds a new idea.
| Connection | Establish a connection to your Aha! account. |
| Product ID | Select the product or map the ID of the product you want to create an idea for. |
| Idea Category (optional) | Select one of the existing categories the idea should be assigned to. |
| Name | Enter the name of the new feature. |
| Created By | Enter the email address of the person that created the idea. |
| Description | Enter the description of the idea. HTML formatting is supported. |
| Workflow Status | Select the status of the idea. It must be one of the valid status values for the selected product. |
| Tags | Specify the tags you want to assign to the new idea. |
| Assigned To User | Enter the email address of the user that the idea is assigned to. |
| Feature | Enter the ID of the feature that the idea was promoted to. |
| Initiatives | Enter the initiative ID of the initiative that the idea was promoted to. |
| Initial Votes |
Enter the number of votes to seed the vote count with when importing from other systems.
|
| Visibility | Select the initial visibility of the idea. Default is Aha!. |
Get an Idea
Retrieves idea details.
| Connection | Establish a connection to your Aha! account. |
| Idea ID | Enter (map) the ID or select the idea you want to retrieve details about. |
Update an Idea
Updates an existing idea.
| Connection | Establish a connection to your Aha! account. |
| Idea ID | Enter (map) the ID or select the idea you want to update. |
Please find the descriptions of the fields in the Create an Idea section above.
Delete an Idea
Deletes a specified idea.
| Connection | Establish a connection to your Aha! account. |
| Idea ID | Enter (map) the ID or select the idea you want to delete. |
Make an API Call
Allows you to perform a custom API call.
| Connection | Establish a connection to your Aha! account. |
| URL |
Enter a path relative to For the list of available endpoints, refer to the Aha! REST API Documentation.
|
| Method |
Select the HTTP method you want to use: GET POST PUT PATCH DELETE |
| Headers | Enter the desired request headers. You don't have to add authorization headers; we already did that for you. |
| Query ztring | Enter the request query string. |
| Body | Enter the body content for your API call. |
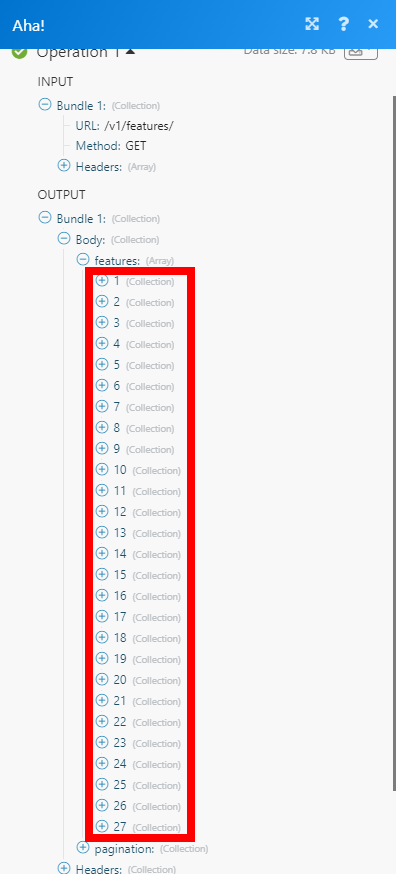
Example of Use - List Features
The following API call returns all features in your Aha! account:
URL:
/v1/features/
Method:
GET

The result can be found in the module's Output under Bundle > Body > dashboards.
In our example, 27 features were returned: