Chargebee
Getting started with Chargebee
To use any of the above modules, you need to connect your Chargebee account to Integromat. If you do not have a Chargebee account yet, you can create one at Chargebee.com.
Connecting the Chargebee service to Integromat
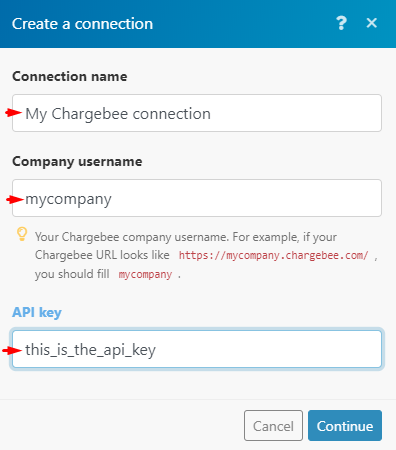
To connect your Chargebee account to Integromat, follow the general instructions for Connecting to services. After you click the Add button, you will be prompted to enter your Chargebee company username and API key.
In the Company username field, enter the subdomain of your Chargebee URL. If your Chargebee account URL is e.g. https://mycompany.chargebee.com/, enter mycompany.
To get the API key, login to your Chargebee account, click on Settings in the top menu and select Configure Chargebee.

Scroll down to the API keys and webhooks section and select API keys.

Here you can create a new API key or select an existing one. While generating an API Key in Chargebee, you have the option to select a permission level for the key. Make sure you determine the correct level of access needed by Integromat for your purpose.
Once you have entered your Chargebee Company username and API key into the respective fields in Integromat, click on Continue and finish your scenario.
Using the instant trigger Watch events
Chargebee currently does not support automatic registration of webhooks, so you need to register your webhook manually. When you create a webhook in Integromat, copy the webhook URL address into your clipboard.

To register a webhook, log into your Chargebee account and click on Settings in the top menu and go Configure Chargebee> API keys and webhooks> Webhooks.

Click the Add new webhook button and fill in the Webhook settings form.
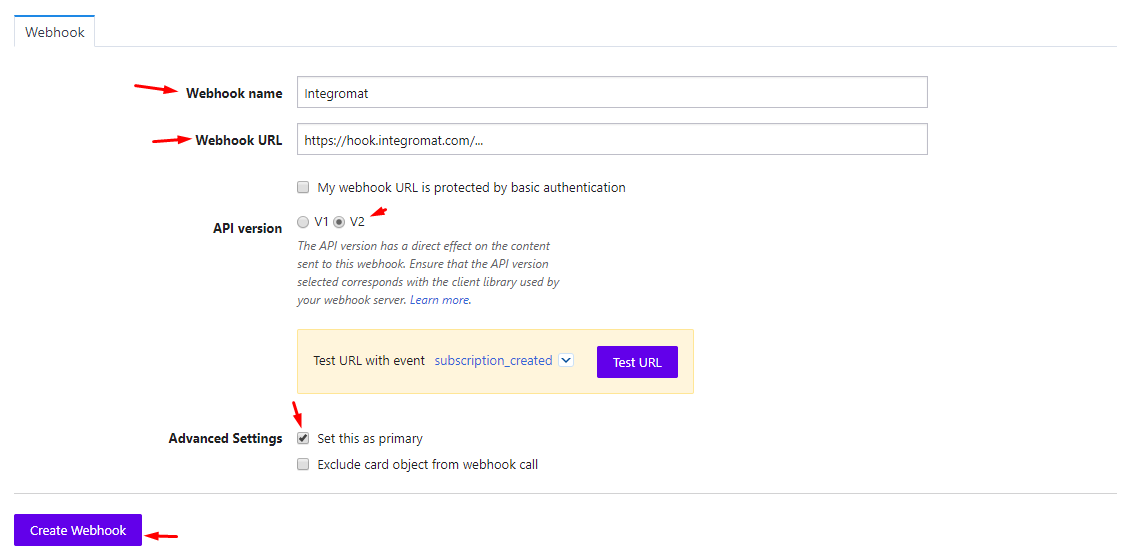
Enter any name of your choice for the webhook into the Webhook name field. Into the Webhook URL field, paste the URL from Integromat which you have copied to your clipboard.
Select V2 as the API Version. We recommend to select also the Set this as primary option in the advanced settings of the webhook. Then click Create webhook.
After the webhook is created, Chargebee will send all event notification to the Webhook URL address you have specified in the form.
Scenarios with the instant trigger Watch events
Chargebee does not allow to choose the type of events that shall trigger the notification. When you create a webhook in Chargebee, you will be notified of all events specified in this list.
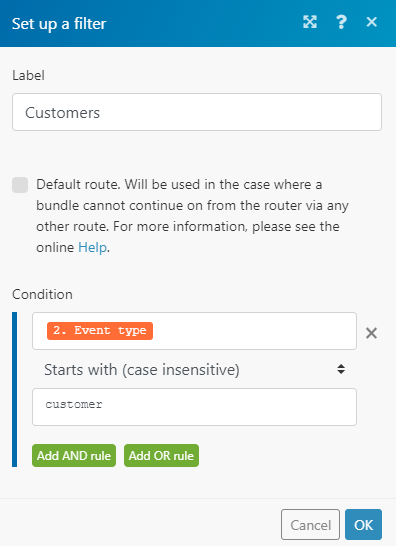
By using filters in Integromat you can then select which Event type should be further processed in your scenario. E.g. To select customer events, your filter should look like this:
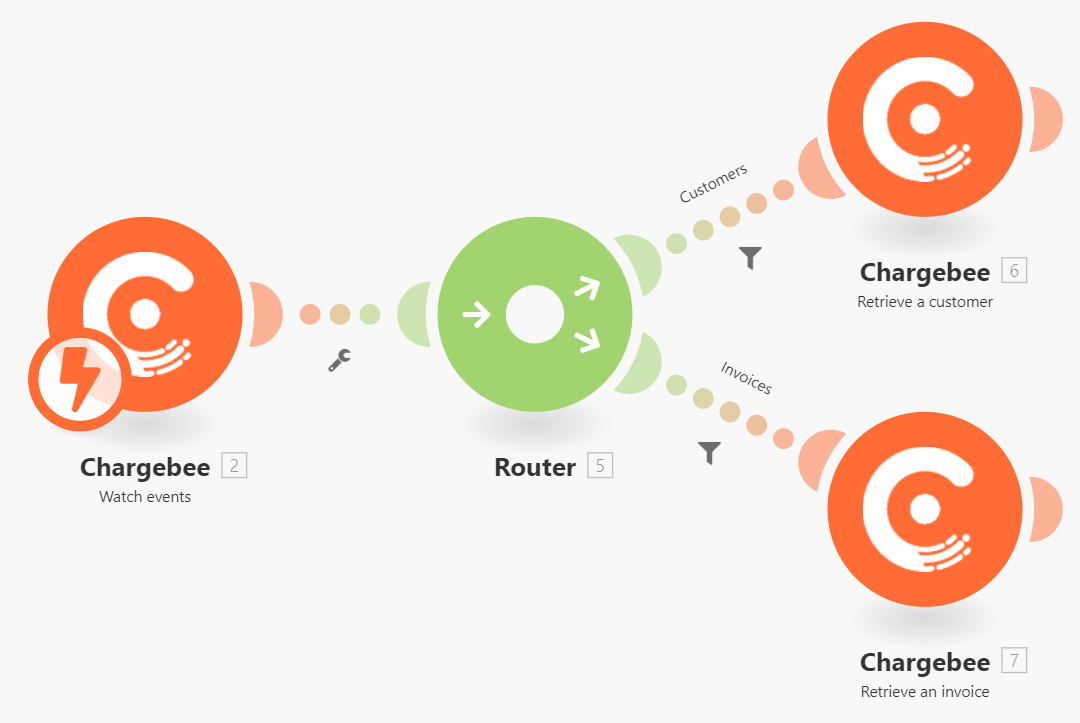
Using a router
A router let you create multiple routes in your scenario and process each type of events in a separate route.
Important
All Chargebee app modules expect amounts to be provided in a currency's smallest unit. For example, to specify an amount of 1 USD in the price field, enter 100.


