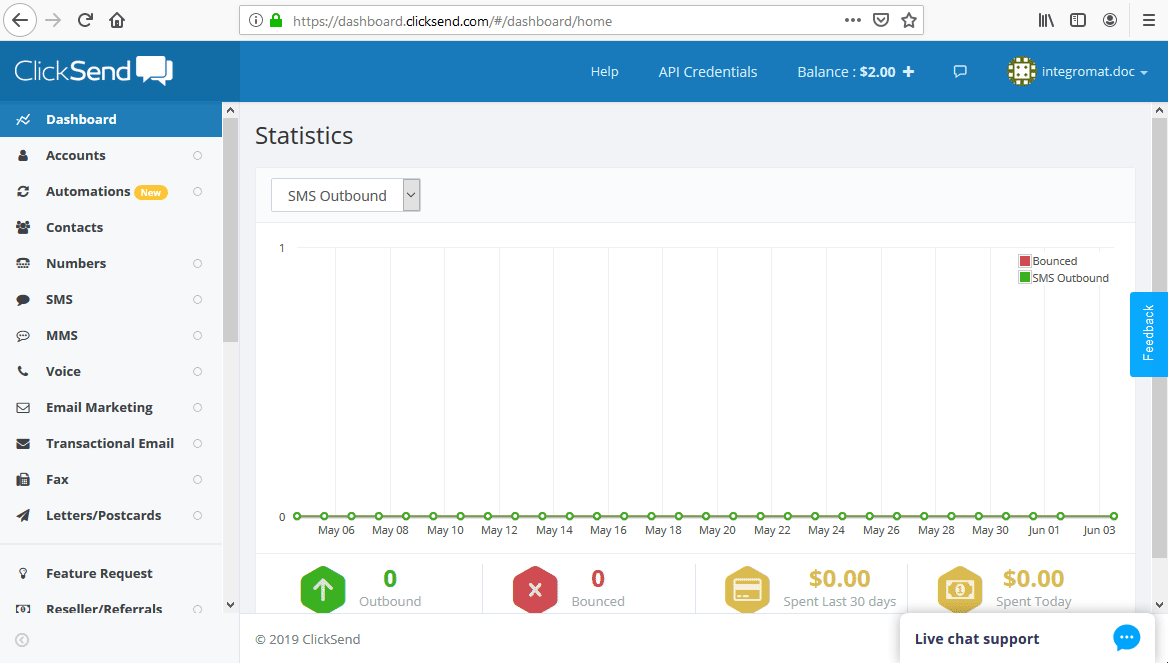
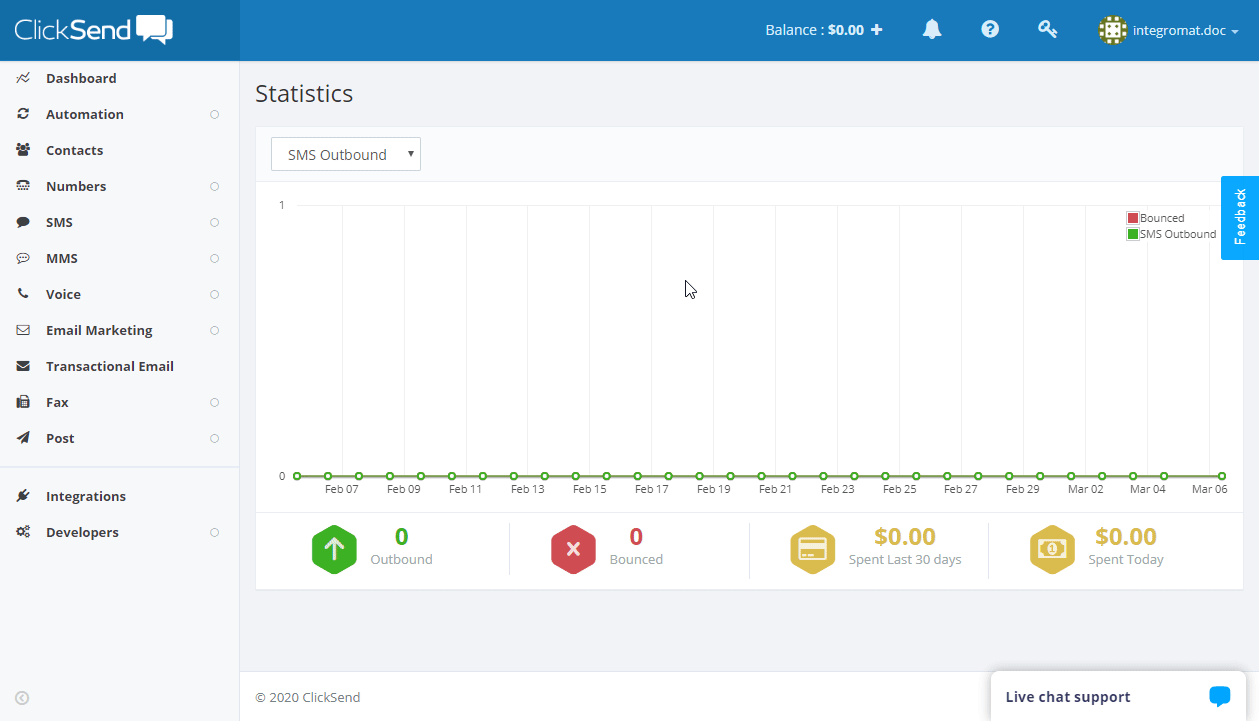
ClickSend SMS
Getting Started with ClickSend
The ClickSend modules allow you to monitor, publish or update posts, photos, and videos in your ClickSend account.
Prerequisites
- A ClickSend account
In order to use ClickSend with Integromat, it is necessary to have a ClickSend account. If you do not have one, you can create a ClickSend account at clicksend.com.
Connecting ClickSend to Integromat
To connect your ClickSend account to Integromat, you must provide your username and API Key.
1. Log in to your ClickSend account.
2. Open the API Credentials dialog from the top-right corner.
3. Copy the API Key provided.
4. Go to Integromat, and open the Create a connection dialog of the desired ClickSend module. Enter your ClickSend username and API Key to the respective fields.
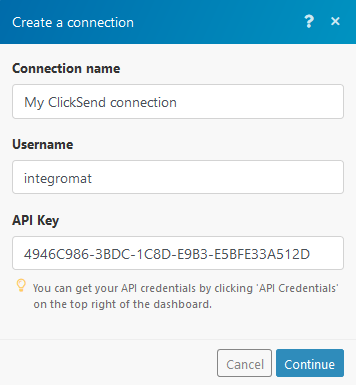
5. Establish a connection by clicking the Continue button.
Triggers
Watch Messages Webhook (Custom webhook)
Triggers when a new SMS message is received.
1. Add the Custom webhook to your scenario. 
2. Copy the provided URL.
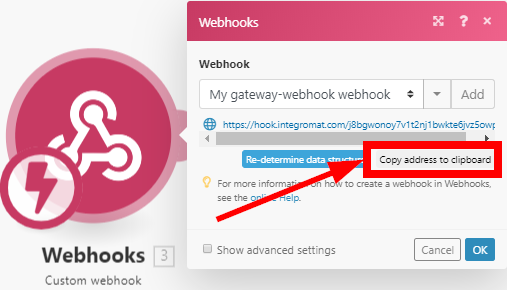
3. Log in to your ClickSend account.
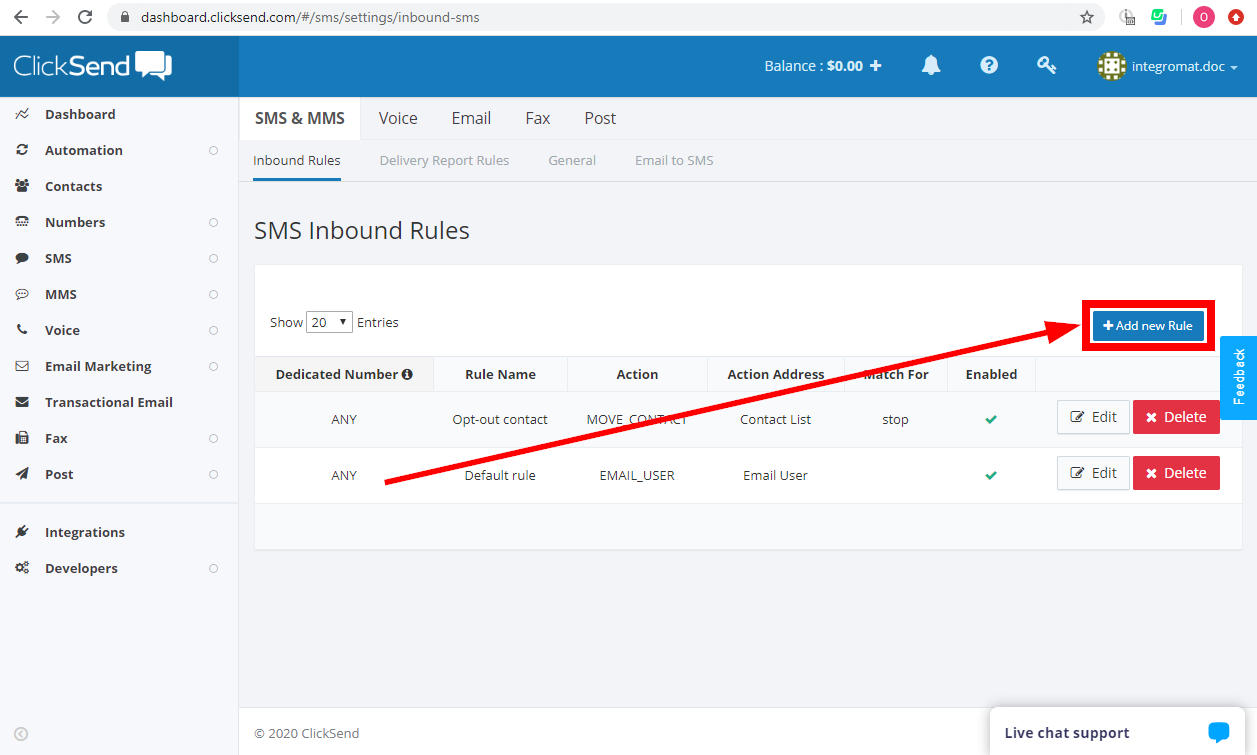
4. Click on your profile icon in the top-right corner, and select the Messaging Settings option.
5. Click the +Add new Rule button.
6. Enter the name, select the Action: URL, and enter the URL you copied in step 2 above to the URL field.
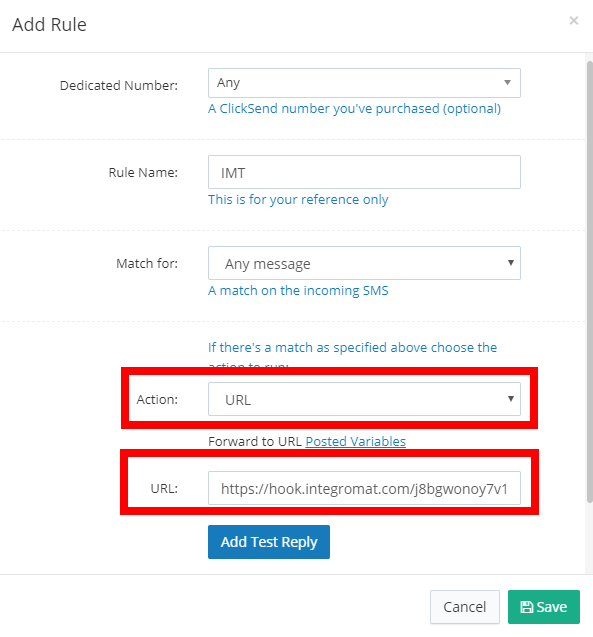
7. You can send a test webhook to your scenario using the Add Test Reply button (don't forget to run the scenario with the Custom webhook module beforehand).
8. Click the Save button to save and close the dialog.
Watch SMS Messages
Returns SMS message details when a new inbound SMS is received.
| Connection | Establish a connection to your ClickSend account. |
| Limit | Set the maximum number of messages Integromat will return during one cycle. |
Watch Voice Messages
Triggers when a new voice message is sent or received.
| Connection | Establish a connection to your ClickSend account. |
| Limit | Set the maximum number of voice messages Integromat will return during one cycle. |
Actions
Send SMS
Allows you to send one or more SMS messages.
| Connection | Establish a connection to your ClickSend account. |
| Send options |
Select whether a message should be sent to a particular number or to a contact list. |
| Message |
Source Body The maximum is 160 characters. Messages exceeding 160 characters will constitute a second message.
The end user will see this as a single, long message on their handset. When a message is longer than 160 characters, this is referred to as a multi-part message, because it contains multiple messages (or multiple-parts). The total SMS limit then becomes 153 characters per ‘part’ as the 7 characters are used up by invisible headers and footers that denote which part of the message is being sent (i.e., Part 1 of 2). If a message contains any characters that aren't in the GSM 03.38 character set, the message type will be treated as unicode. Number/List ID You can post up to 1000 messages in a scenario run. You can send to a mix of contacts and contact lists, as long as the total number of recipients is no more than 1000.
|
Create a Contact
Adds a contact to a selected contact list.
| Connection | Establish a connection to your ClickSend account. |
| Phone number |
Enter the contact's phone number in E.164 format.
A phone number must be provided if no fax number or email address is entered.
|
| First name | Enter the contact's first name. |
| Last name | Enter the contact's last name. |
| Custom fields | Enter a value in the desired custom fields. |
| Fax number | Enter the contact's fax number. A fax number must be provided if no phone number or email address is entered.
|
| Organization name | Enter the contact's organization. |
| Enter the contact's email address. An email must be provided if no phone number or fax number is entered.
|
|
| Address line1 | Enter the contact's street address. |
| Address line2 | Enter the additional address information. |
| City | Enter the contact's current city. |
| State | Enter the contact's state |
| Zip | Enter the contact's postal code. |
| Country | Enter the contact's country. |
Get a Contact
Retrieves the details of a contact.
| Connection | Establish a connection to your ClickSend account. |
| List ID | Select or map the ID of the list that contains the contact you want to retrieve information about. |
| Contact ID | Select or map the Contact ID of the contact you want to retrieve details about. |
Update a Contact
Updates a specified contact.
| Connection | Establish a connection to your ClickSend account. |
| List ID | Select or map the ID of the list that contains the contact you want to update. |
| Contact ID | Enter (map) the Contact ID of the contact you want to update. |
Please find the field descriptions in the Create a Contact section above.
Add an Email to Allowed
Creates an allowed email address.
| Connection | Establish a connection to your ClickSend account. |
| Email address | Enter the email address to be allowed. |
Send a Verification Email
Sends an email with the verification link (token).
| Connection | Establish a connection to your ClickSend account. |
| Email ID | Enter (map) the Email ID of the allowed email address. |
Send a Transactional Email
| Connection | Establish a connection to your ClickSend account. |
| From |
Name Email ID The email address must be allowed and verified.
|
| To |
Name Email address |
| Body | Body of the email. HTML formatting is allowed. |
| Subject | Enter the subject of the email. |
| CC |
Add the recipients of the email copy. Name Email address |
| Schedule | Leave the field empty if you want to send the email immediately. Otherwise enter the scheduled time in unix format. For example 1904610115. |
| BCC |
Add the recipients of the blind copy. Name Email address |
| Attachments |
Add attachments if needed. Source file Disposition Content ID Type |
Send MMS
Sends an MMS.
| Connection | Establish a connection to your ClickSend account. | ||||||||||||
| Message |
Source Subject From You can post up to 1000 messages in a scenario run.
The maximum characters allowed:Standard MMS: 1500 The maximum file size: 250 kB. Some older devices can only accept attachments with up to 30 kB. Supported file types are listed below. If you need to convert a file to a supported format, please use the Upload a File module first. It will return a URL to the converted image file.
Number/List ID |
||||||||||||
| Media file URL |
Enter the media file URL. E.g. Only JPG and GIF file are supported without previous conversion (see above.) |
Send a Voice Message
Sends TTS (Text-to-speech) voice calls.
| Connection | Establish a connection to your ClickSend account. | ||||||||||||||||||||
| Send options |
Select whether a voice message should be sent to a particular number or to a contact list. | ||||||||||||||||||||
| Message |
Source Body If a message is longer than 4 message parts, it will be truncated (see below). If a message contains any characters that aren't in the GSM 03.38 character set, the message type will be treated as unicode. (en.wikipedia.org/wiki/GSM_03.38) Standard English Characters:
Non-GSM (Unicode) characters:To introduce a small delay between words or digits, you can use a comma (,).
Number/List ID Voice Language Schedule Country Custom string By default, the maximum is 50 characters long. Machine detection Require input |
Make an API Call
Allows you to perform a custom API call.
| Connection | Establish a connection to your ClickSend account. |
|
Enter a path relative to For the list of available endpoints, refer to the ClickSend REST API Documentation.
|
|
| Method |
Select the HTTP method you want to use: GET POST PUT PATCH DELETE |
| Headers | Enter the desired request headers. You don't have to add authorization headers; we've already done that for you. |
| Query String | Enter the request query string. |
| Body | Enter the body content for your API call. |
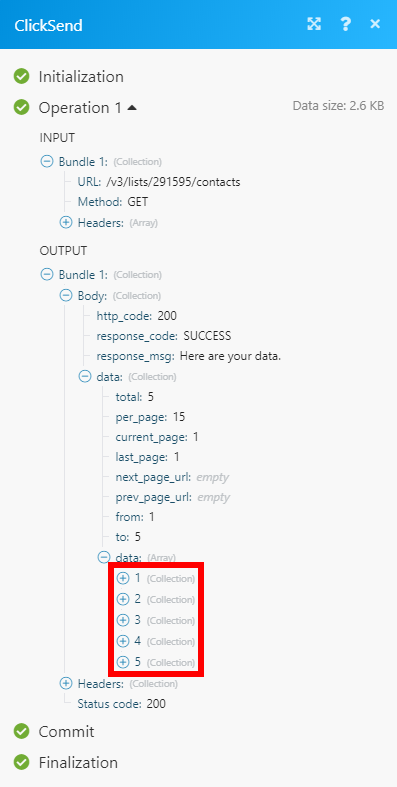
Example of Use - List Contacts
The following API call returns all contacts from the specified list:

Matches of the search can be found in the module's Output under Bundle > Body > data > data.
In our example, 5 contacts were returned:
Searches
List Contacts
Retrieves contacts from the specified contact list.
| Connection | Establish a connection to your ClickSend account. |
| List ID | Select or map the ID of the list you want to get contacts from. |
| Limit | Set the maximum number of contacts Integromat will return during one execution cycle. |
List Voice Messages
Retrieves voice messages.
| Connection | Establish a connection to your ClickSend account. |
| Limit | Set the maximum number of voice messages Integromat will return during one execution cycle. |
List Inbound SMS
Retrieves all inbound SMS.
| Connection | Establish a connection to your ClickSend account. |
| Limit | Set the maximum number of inbound SMS Integromat will return during one execution cycle. |
| Date from | Enter the start date. Please use the unix format 1559663140
|
| Date to | Enter the end date. Please use the unix format 1559663140
|


