Google Maps
The Google Maps modules enable you to search for places or get directions, location, elevation, roads, or static map image in your Google Maps.
Getting Started with Google Maps
Prerequisites
- A Google account
- A created project in Google Cloud Platform
- Billing on the Google Cloud Project enabled
In order to use Google Maps with Integromat, it is necessary to have a Google account and a created project in Google Cloud Platform.
If you do not have one, you can create a Google account at accounts.google.com.
Connecting Google Maps to Integromat
To connect your Google Maps account to Integromat you need to create a project in Google Cloud Platform and retrieve the API Key.
1. Sign in to Google Cloud Platform using your Google credentials.
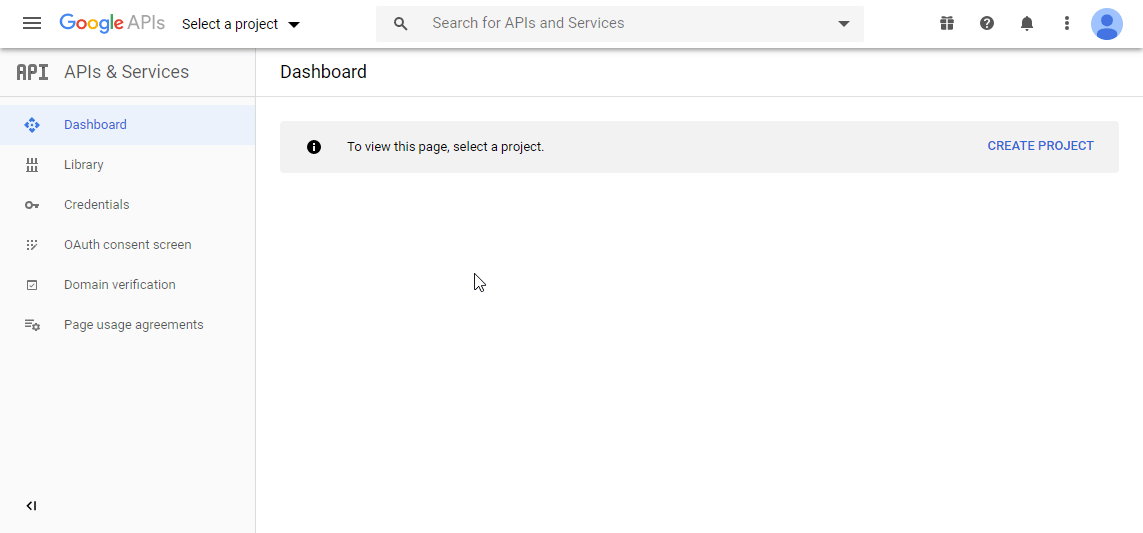
2. Open the Dashboard and Click the CREATE PROJECT button.
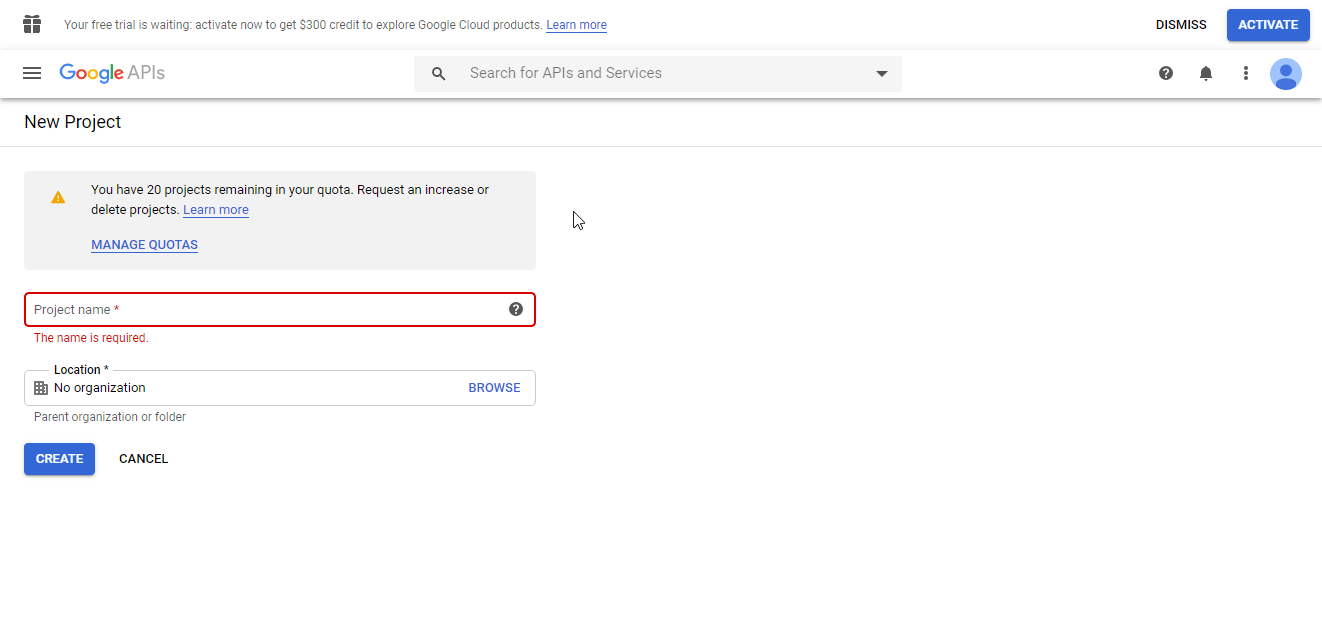
3. Enter the desired project name and click the CREATE button.
4. Click the ENABLE APIS AND SERVICES button.
5. You need to enable the following APIs to make all of the Integromat Google Maps modules work:
- Geocoding API
- Maps Elevation API
- Time Zone API
- Directions API
- Distance Matrix API
- Roads API
- Map Static API
- Places API
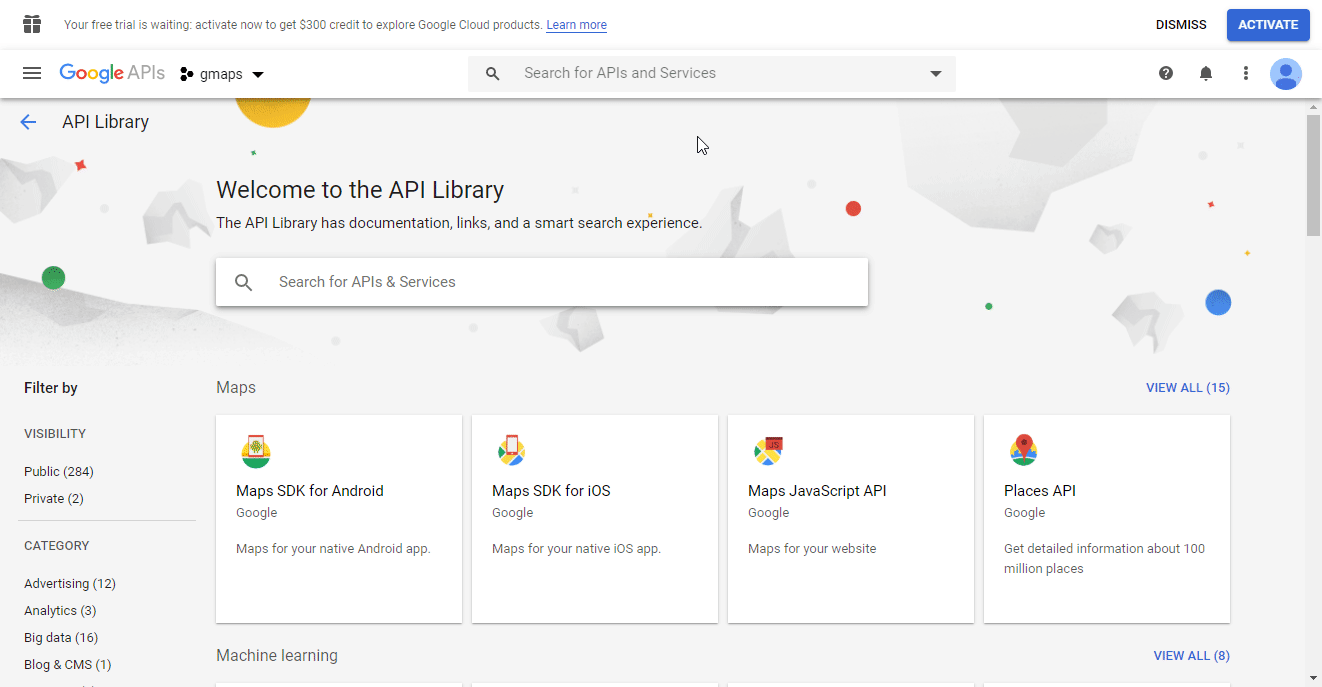
6. Type the name of the API you would like to add in the Search for APIs & Services field.
7. The desired API option should display as you type. Click on the API you want to connect to Integromat.
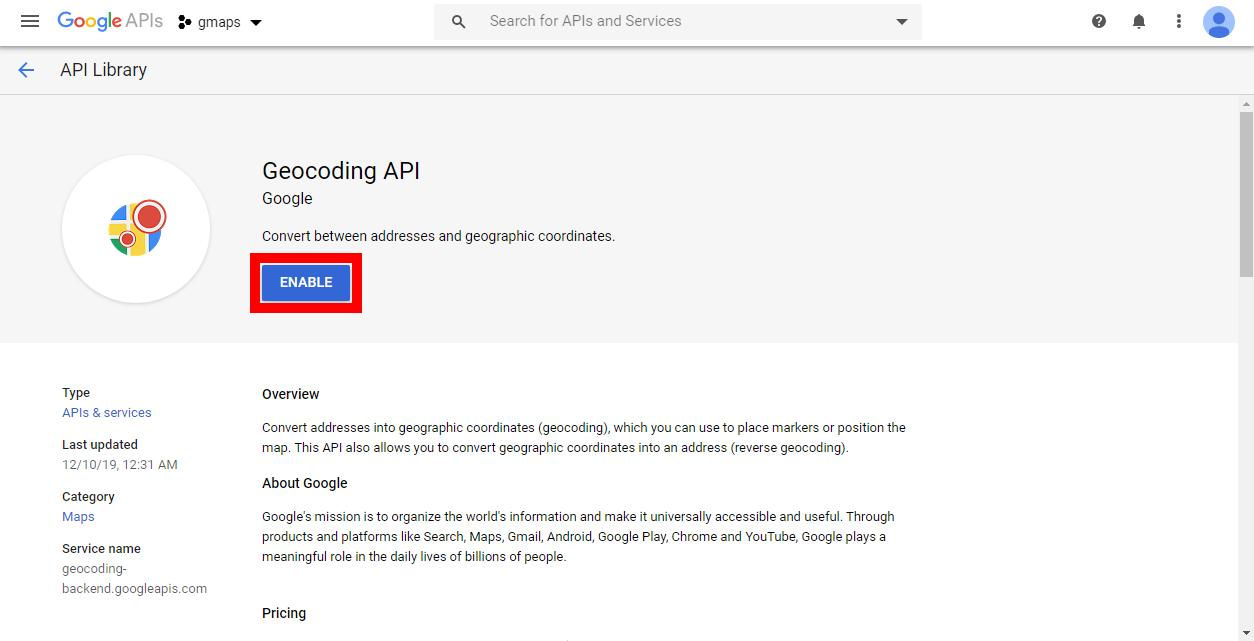
8. Click the ENABLE button to enable the selected API.
9. Repeat steps 6, 7, 8 for all needed Google Maps APIs listed in step 5.

10. Navigate to APIs & Services > Credentials.

11. Click on the +CREATE CREDENTIALS and select the API Key option.
12. Copy the provided API Key.
13. Go to https://console.cloud.google.com/project/_/billing/enable and enable billing for your Google Maps project.
14. Go to Integromat and open the Google Maps module's Create a connection dialog.
7. Enter the API Key you have copied in step 12 to the respective field and click the Continue button to establish the connection.
The connection has been established. You can proceed with setting up the module.
Search Map
Search For Places
Returns a list of places matching the search term or specified location.
| Connection | Establish a connection to your Google Maps. |
| Find Places | Select whether you want to search places by search term or location. |
| Query Search For Places | Enter the term on which to search. The module returns candidate matches based on this term and orders the results based on their perceived relevance. |
| Latitude | Specify the latitude to retrieve place information. E.g. -33.870775 |
| Longitude | Specify the longitude to retrieve place information. E.g. 151.199025 |
| Radius | Enter the distance (in meters) within which to bias place results. The maximum allowed radius is 50 000 meters. Results inside of this region will be ranked higher than results outside of the search circle; however, prominent results from outside of the search radius may be included. |
| Minimum Price | Enter the lowest points for the price range. Restricts results to only those places within the specified price level. Valid values are in the range from 0 (most affordable) to 4 (most expensive), inclusive. The exact amount indicated by a specific value will vary from region to region. |
| Maximum Price | Enter the highest points for the price range. Restricts results to only those places within the specified price level. Valid values are in the range from 0 (most affordable) to 4 (most expensive), inclusive. The exact amount indicated by a specific value will vary from region to region. |
| Limit | Set the maximum number of places Integromat will return during one execution cycle. |
Get a Map
Get Directions
Returns directions between locations.
Travel time is the primary factor optimized, but the API may also take into account other factors such as distance, number of turns and many more when deciding which route is the most efficient.
| Connection | Establish a connection to your Google Maps. |
| Origin | Enter the address, textual latitude/longitude value, or place ID from which you wish to calculate directions.
|
| Destination | Enter the address, textual latitude/longitude value, or place ID to which you wish to calculate directions. The options for the Destination are the same as for the Origin (described above). |
| Travel mode | Select the mode of transport to use when calculating directions. |
| Waypoints | Add waypoints, if needed. Intermediate locations to include along the route between the origin and destination points as pass through or stopover locations. |
| Avoid | Select what should the route avoid. |
| Units | Select the unit system to use when displaying results. |
| Define Time | Select whether you want to define arrival or departure time. Applies when the Transit or Driving option is selected in the Travel Mode field (above). |
| Departure Time | Enter the desired time of departure. You can specify the time using one of the options from the supported date and time formats list. Alternatively, you can specify a value of now, which sets the departure time to the current time (correct to the nearest second). Applies when the Transit or Driving option is selected in the Travel Mode field (above). |
| Arrival Time | Enter the desired time of arrival for transit directions. Applies when the Transit option is selected in the Travel Mode field (above). |
Get a Location
Returns information (including latitude/longitude) of the specified address or returns an address when the latitude/longitude is specified.
| Connection | Establish a connection to your Google Maps. |
| Input Format Of Location | Select whether you want to specify the address or coordinates. |
| Address | Enter the address you want to retrieve details about. |
| Latitude | Specify the north–south position. |
| Longitude | Specify the east–west position. |
Get a Timezone
Returns the name of time zone, the time offset from UTC, and the daylight savings offset for the specified coordinates.
| Connection | Establish a connection to your Google Maps. |
| Latitude | Specify the north–south position. |
| Longitude | Specify the east–west position. |
| Date and Time | Enter the time to determine whether or not Daylight Savings should be applied, based on the time zone of the location. The list of supported date and time formats. |
Get an Elevation
Returns an elevation data for any location in the world.
| Connection | Establish a connection to your Google Maps. |
| Latitude | Specify the north–south position. |
| Longitude | Specify the east–west position. |
Get a Distance Matrix
Returns the travel distance and time for a matrix of origins and destinations, based on the recommended route between start and end points.
| Connection | Establish a connection to your Google Maps. |
| Origin | Enter the address, textual latitude/longitude value, or place ID from which you wish to calculate directions.
|
| Destination | Enter the address, textual latitude/longitude value, or place ID to which you wish to calculate directions. The options for the Destination are the same as for the Origin (described above). |
| Travel mode | Select the mode of transport to use when calculating directions. |
| Waypoints | Add waypoints, if needed. An intermediate locations to include along the route between the origin and destination points as pass through or stopover locations. |
| Avoid | Select what should the route avoid. |
| Units | Select the unit system to use when displaying results. |
| Define Time | Select whether you want to define arrival or departure time. Applies when the Transit or Driving option is selected in the Travel Mode field (above). |
| Departure Time | Enter the desired time of departure. You can specify the time using one of the options from the supported date and time formats list. Alternatively, you can specify a value of now, which sets the departure time to the current time (correct to the nearest second). Applies when the Transit or Driving option is selected in the Travel Mode field (above). |
| Arrival Time | Enter the desired time of arrival for transit directions. Applies when the Transit option is selected in the Travel Mode field (above). |
Get Roads
Identifies the roads a vehicle was traveling along and provides additional metadata about those roads, such as speed limits.
| Connection | Establish a connection to your Google Maps. |
| Input format of roads | Select one of the following options:
|
| Path | Define the path to be snapped (Snap to roads option). For Speed limits, it then determines the speed limit for the relevant road segment. |
| Points | Enter a list of latitude/longitude pairs to return the closest road segment for each point. The points passed do not need to be part of a continuous path. |
| Unit | Select whether to return speed limits in kilometers or miles per hour. |
Get a Static Map Image
Downloads an image (either GIF, PNG or JPEG) of the specified location.
| Connection | Establish a connection to your Google Maps. |
| Input Format of Center Location | Select one of the following options:
|
| Zoom | Enter the zoom level of the map, which determines the magnification level of the map. This parameter takes a numerical value corresponding to the zoom level of the region desired. For more information, see zoom levels. |
| Image Size | Specify the width and height of the output image. |
| Markers | Add markers to define one or more map pins at a set of locations. |
| Image Format | Select the output image format. |
| Map Type | Select one of the map type for the output image:
|
Make an API Call
Allows you to perform a custom API call.
| Connection | Establish a connection to your Google account. |
| URL | Enter a path relative to For the list of available endpoints, refer to the corresponding Google Maps Web Services API documentation: |
| Method | Select the HTTP method you want to use: GET POST PUT PATCH DELETE |
| Headers | Enter the desired request headers. You don't have to add authorization headers; we already did that for you. |
| Query String | Enter the request query string. |
| Body | Enter the body content for your API call. |
Example of Use - Text Search
The following API call returns the first 20 Google Maps results for the entered search term:
URL:/place/textsearch/json
Method:GET
Query String:
Key: query
Value: <searchTerm>
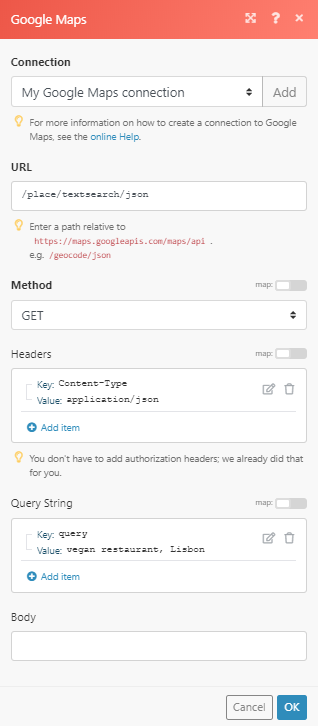
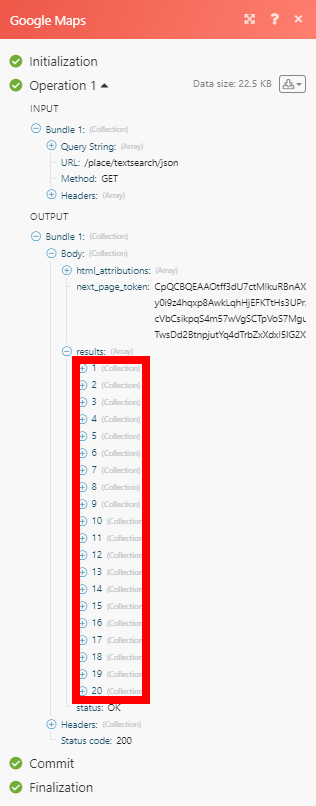
The result can be found in the module's Output under Bundle > Body > results.
In our example, the first 20 vegan restaurants in Lisbon were returned by Google Maps:
Getting the current time information
The Get time zone information trigger allows you to get the local time for any location on earth, for any date in the past. The trigger returns two elements:
- the time zone offset from UTC (in seconds) and
- the offset for the daylight-savings time from UTC (in seconds).
To get the current local time of a given location, you need to calculate the sum of both values. However, the result refers to the UTC. To translate the UTC to your local time, you need to add or subtract the time zone difference between UTC and your location.
For example, let's say, you are in Prague and you want to know the current local time (9.6.2014) in New York. The trigger Get time zone information returns the Time zone offset from UTC -18000 and the Daylight Savings offset from UTC 3600. The sum of both values is -14400 seconds which is -4 hours from UTC. The result you get when repeating the same steps for Prague is +2 hours from UTC. The time difference between Prague and New York is +6 hours.


