RAYNET CRM
Getting started with RAYNET CRM
To use any of the RAYNET CRM modules, you need to connect your RAYNET CRM account to Integromat. If you do not have a RAYNET CRM account yet, you can create one on the RAYNET CRM website.
Connect RAYNET CRM to Integromat
To connect your RAYNET CRM account to Integromat, follow the general instructions for Connecting to services. Connection setup requires the following information: Uživatelské jméno (email), API klíč and Název CRM.
Uživatelské jméno (email)
Uživatelské jméno (email) is the one you use to login to your RAYNET CRM instance.
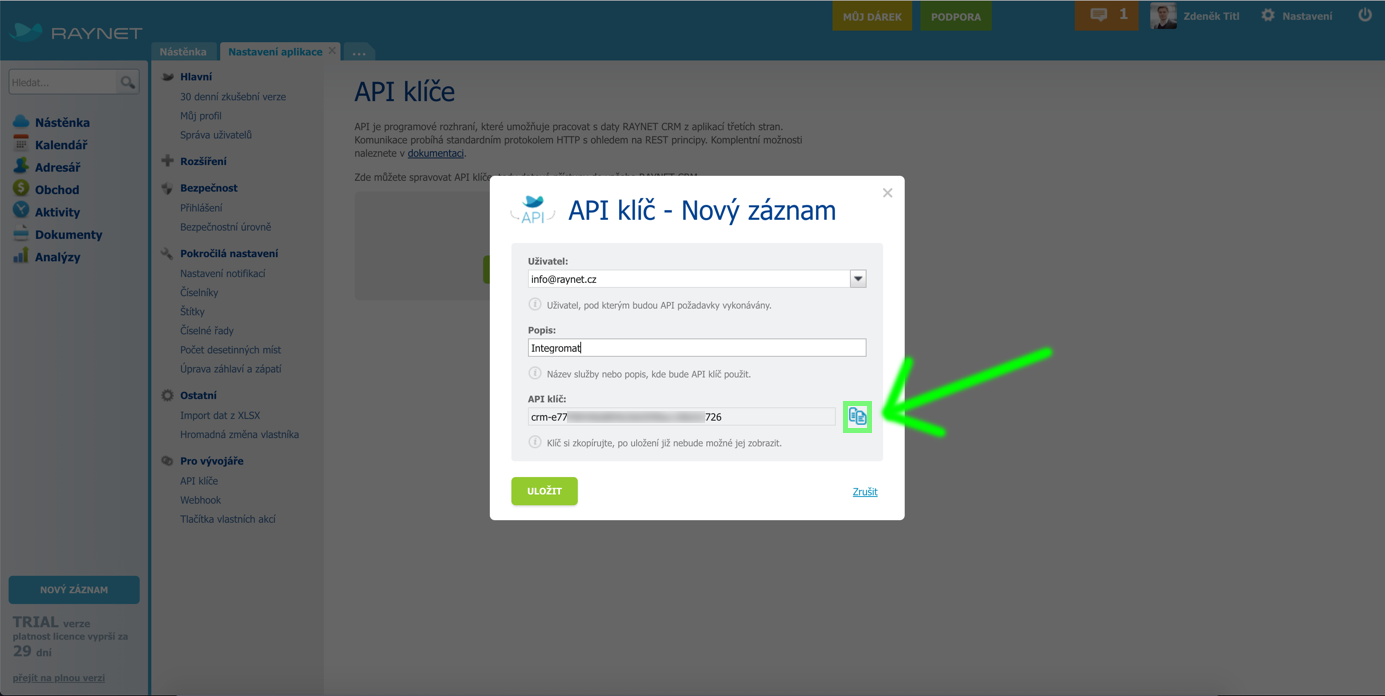
API klíč
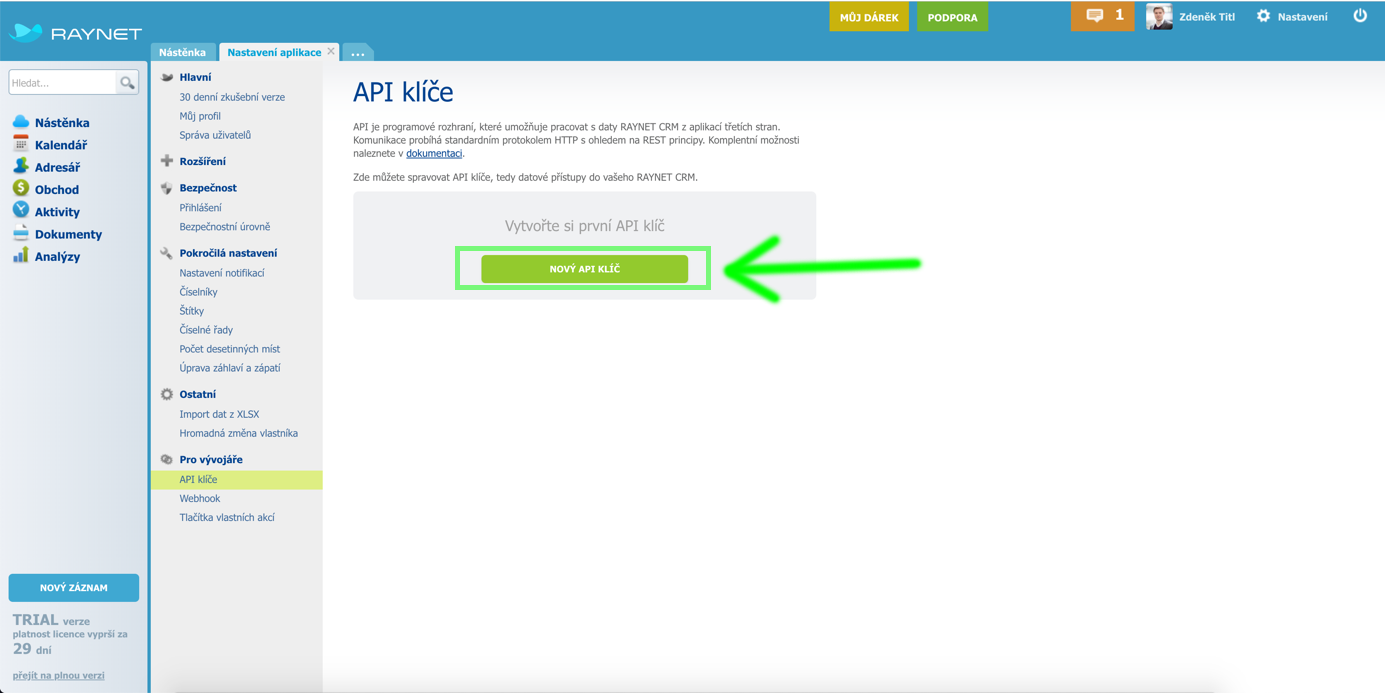
API klíč (API key) can be obtained in Nastavení > Pro vývojáře > API klíče:

Název CRM
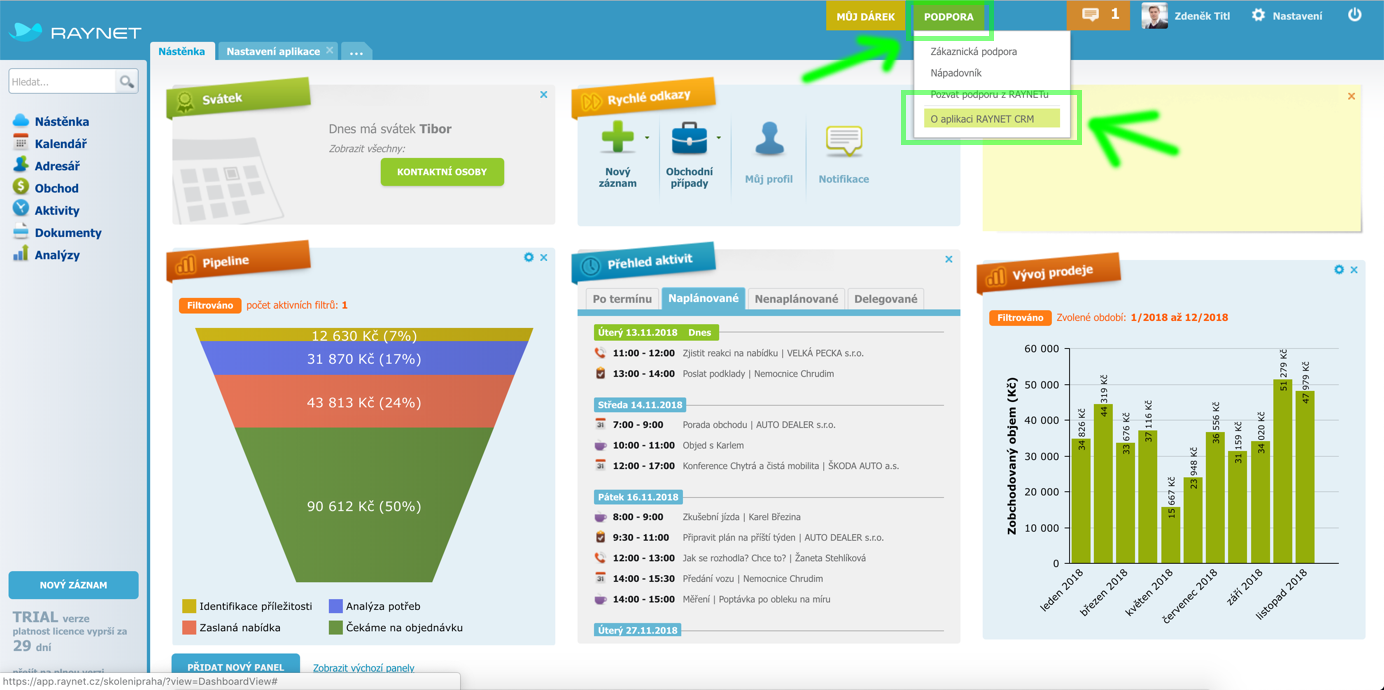
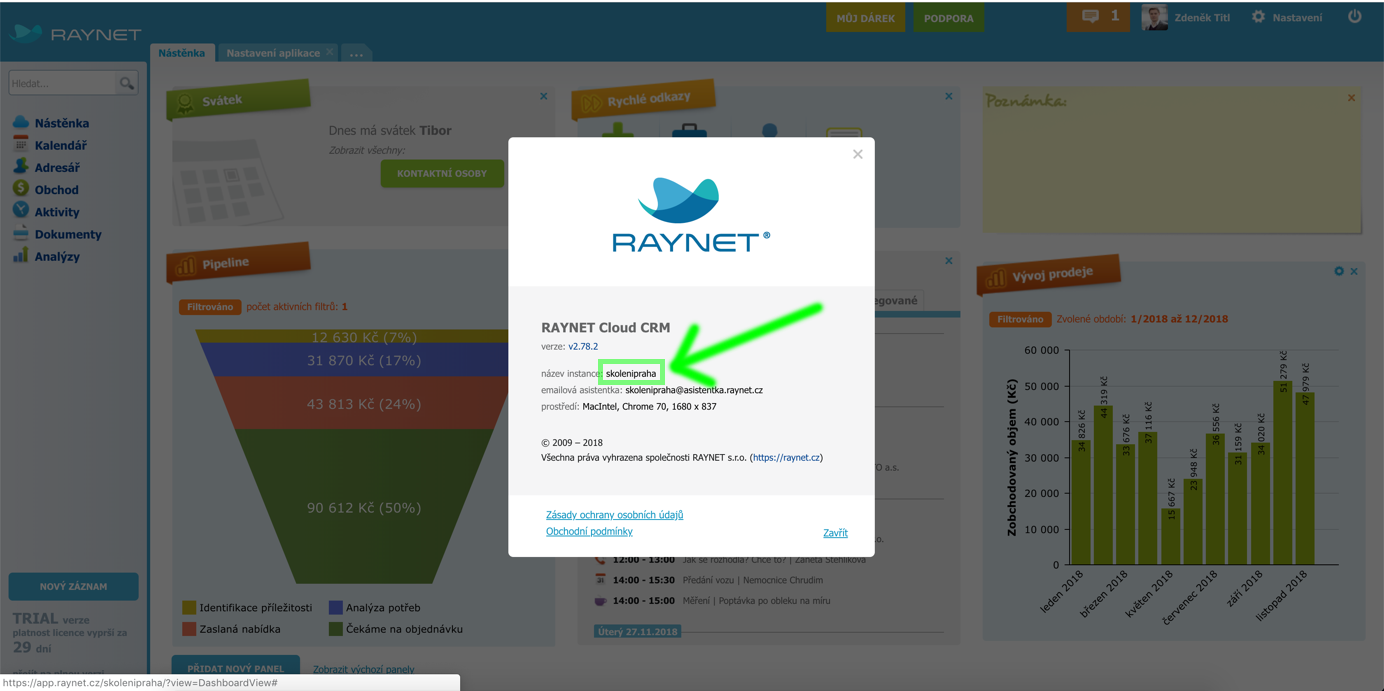
Název CRM (instance name) can be obtained in PODPORA -> O aplikaci RAYNET CRM:
Videotutorial
Videotutorial (Czech language): https://raynet.cz/blog/integromat-jak-na-to/
Tlačítka vlastních akcí (custom action buttons)
Custom action buttons can be used to execute your Integromat scenario from Raynet CRM. Follow the steps below for the setup:
- In Integromat, create a scenario you would like to launch when a custom action button is clicked on.
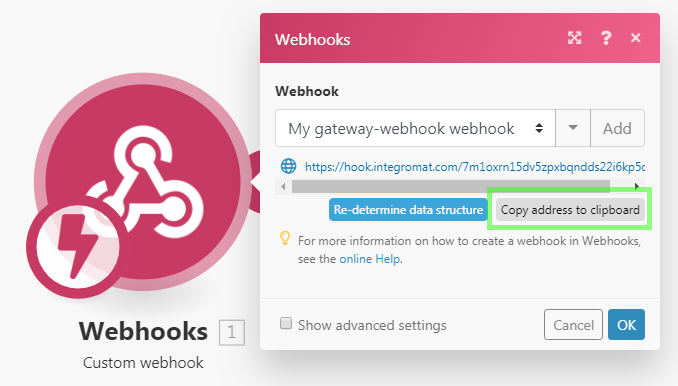
- Add Webhooks > Custom webhook trigger at the beginning of your scenario (see our online documentation on Webhooks for further details) and copy the webhook's URL:
- Add Webhooks > Webhook response module at the end of your scenario and configure it like this:
Status:200
Body:{success: true}
Custom headers:
Key:Content-Type
Value:application/json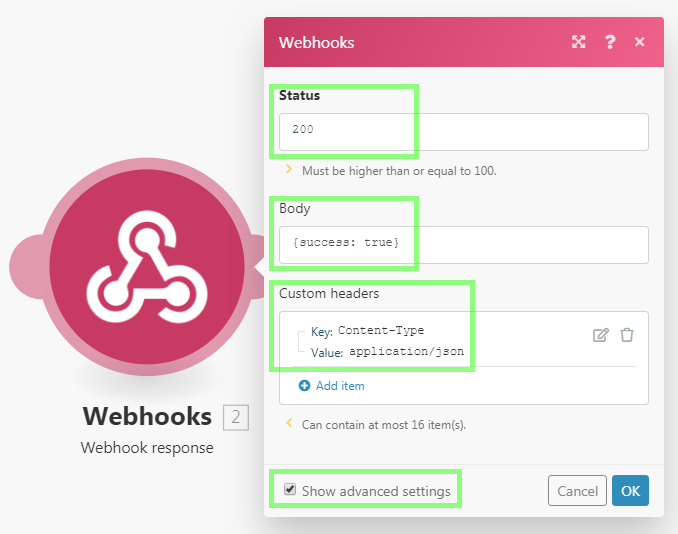
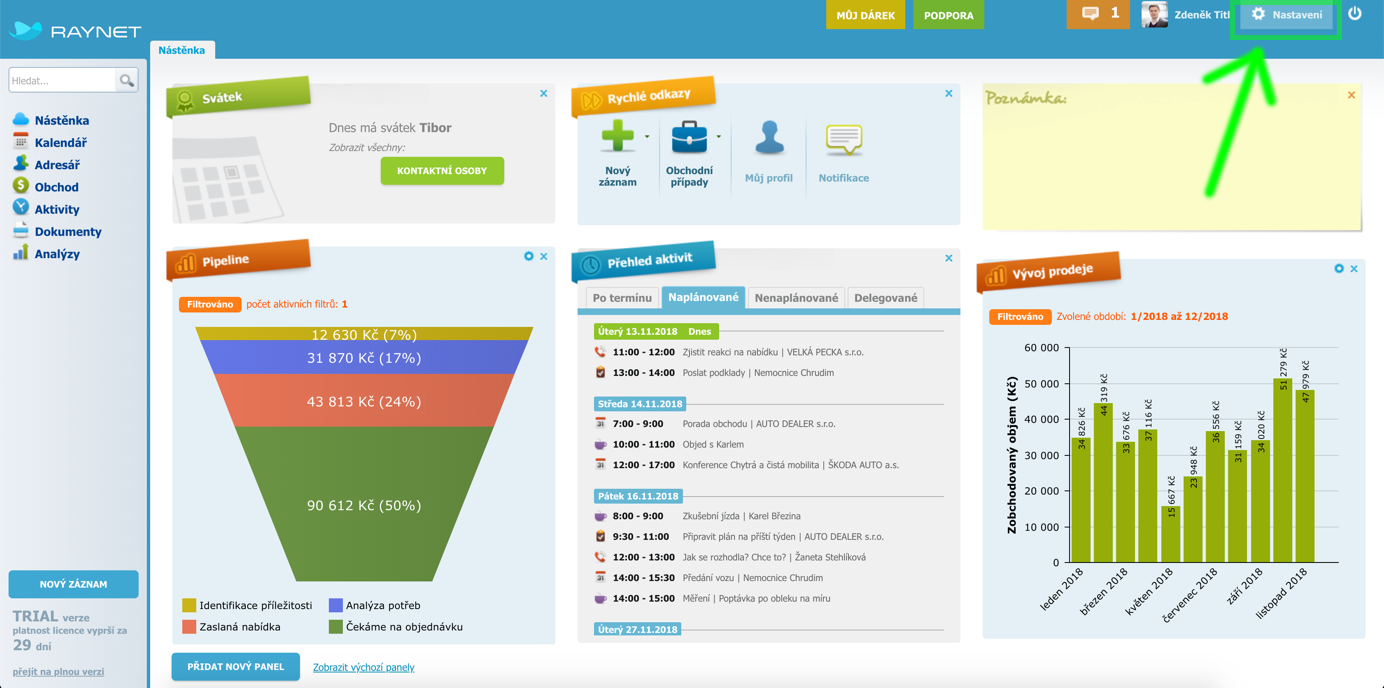
- In Raynet CRM, click on "Nastavení" in the top-right corner:

- Click on "Tlačítka vlastních akcí" item in the bottom of the left side menu:

- Click on "PŘIDAT VLASTNÍ TLAČÍTKO" button:

- Configure the custom action button. Paste the webhook's URL copied in the 2nd step and append the following text to the URL:
?id={entityId}(see Raynet's online documentation on custom action buttons for the full list of available variables and further details):
- Save the settings.
- In Integromat, open your scenario, open the configuration of the Webhooks > Custom webhook module and click the "Re-determine data structure" button.
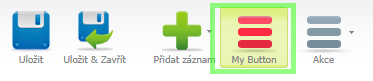
- In Raynet CRM, open the page you have added the button to (e.g. detail of Obchodní případ) and click your new custom action button:
- In Integromat, open the configuration of the module following the Webhooks > Custom webhook. The
iditem (containing the value of theentityIDvariable) is now available for mapping into the module's fields: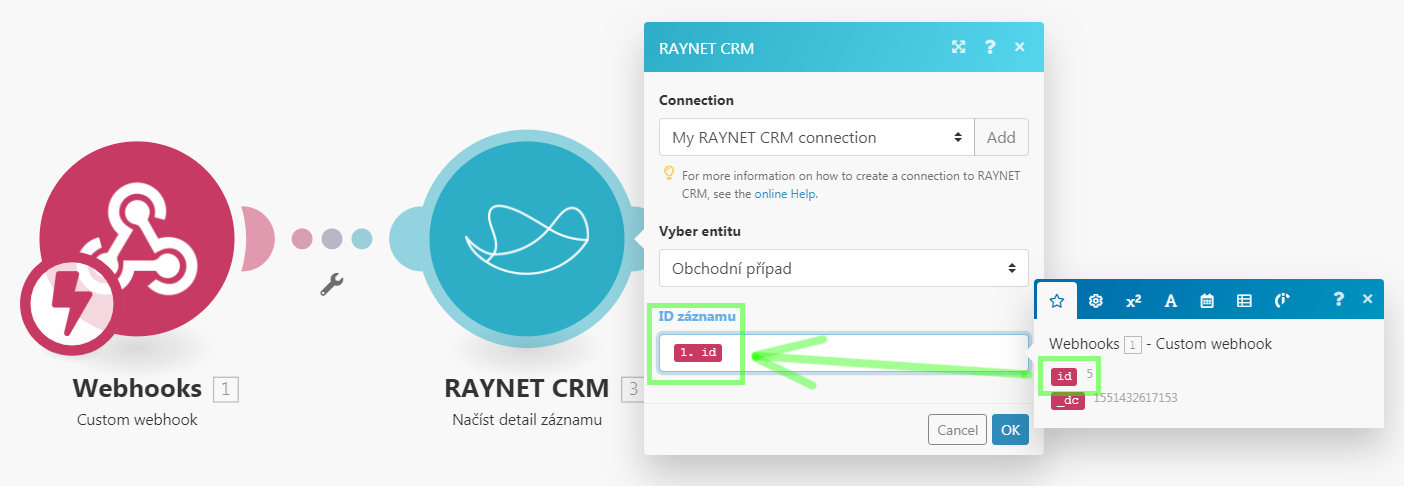
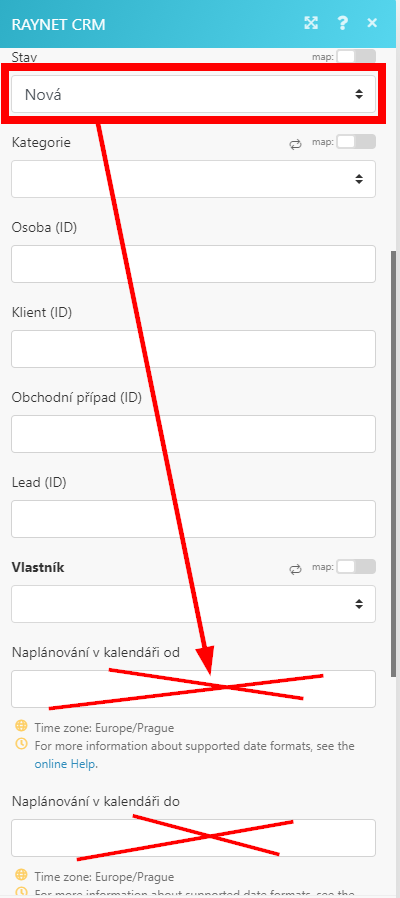
Vytvořit nový záznam
If the Nová option for the Schůzka entity is selected in the Stav field, then fields Naplánování v kalendáři od and Naplánování v kalendáři do are not saved (when a value is entered).
If the Naplánovaná option for the Schůzka entity is selected in the Stav field, then fields Naplánování v kalendáři od and Naplánování v kalendáři must be filled, otherwise Nová is created.


