Zapier
Getting started with Zapier
We built the Zapier modules to give you even more flexibility with your automations by letting you exchange data between a scenario on Integromat and a zap on Zapier.
Currently, the following modules are available:
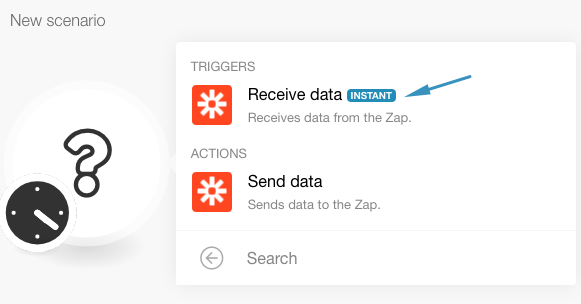
Trigger: Receive Data (from a Zap)
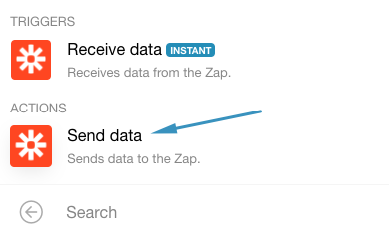
Action: Send Data (to a Zap)
----
Receive data
Follow the steps below to receive data from a Zap in a Scenario using the Receive Data module:
Step 1: Setup a new Zap or go to an existing one that contains the modules from which you wish to send data to Integromat.
- Click on 'Add a Step' to insert the action Webhooks

- Choose POST as the method under the Webhooks by Zapier and click 'Continue'

Step 2: Create a new scenario on Integromat using the Zapier - Receive data as the first module in your scenario.
- Click the 'Add' button to create a new webhook

- Name your webhook and click Save
- Copy the newly generated webhook URL and let the webhook wait to receive sample data

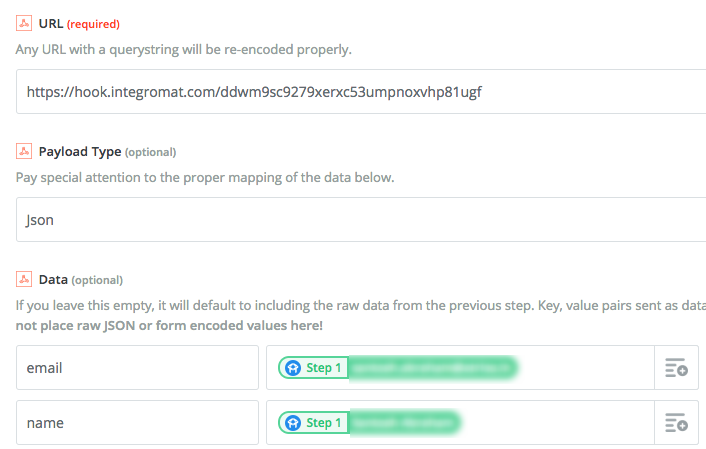
Step 3: Go back to Zapier and fill in the following values in the setup fields of the Webhooks by Zapier - POST action:
- URL: Enter the webhook URL obtained from the Integromat scenario in the previous step
- Payload Type: Json
- Data: Specify the data you want to send to Integromat (as Key, Value pairs)
- Continue to the next step and click 'Send Test to Webhooks by Zapier'. This will send sample data to the Integromat webhook which had been listening for data
- Once the webhook receives the sample data, click 'OK' to continue to the next module to build your scenario
Once your scenario setup is complete, make sure you save it and turn it on to experience the magic!
----
Send data
To send data from an Integromat Scenario to a Zap using the Send data module, follow the steps below:
Step 1: Create a new Zap in Zapier and select Webhooks by Zapier - Catch Hook as the first module in your Zap and click 'Save + Continue'

- In the next step, simply click 'Continue'
- Copy the generated webhook URL into your clipboard. You will need it in the next step
Step 2: Go to Integromat and insert the module Zapier - Send data to your scenario that shall send data to Zapier
- Paste the Webhook URL obtained in last step and specify the data that shall be sent to Zapier as key, value pairs (Simple) or JSON (Advanced)

- Go back to the Zap and click 'Ok, I did this'. Zapier is now waiting to receive data from Integromat.
Step 3: Go to the Integromat scenario and run it manually by clicking the 'Run once' button. This will send sample data to Zapier.
- Zapier should confirm the receipt of the data and finish the configuration of the webhook.

Once the connection between Integromat and Zapier is established, you can add other actions to your zap and achieve your intended integration.
Happy Automating!


