Zoom [v1]
Version v01
Getting started with Zoom
To use the Zoom modules, you need to connect your Zoom account to Integromat. If you do not have a Zoom account yet, you can create it.
Connecting Zoom to Integromat
To connect Integromat to Zoom, follow these steps (you may also refer to the general instructions for Connecting to services):
- Open Zoom App Marketplace.
- Click the "Sign In" link in the top right corner and sign in.
- Choose "Build App" from the "Develop" drop-down menu in the top right corner:

- Choose the JWT app type.
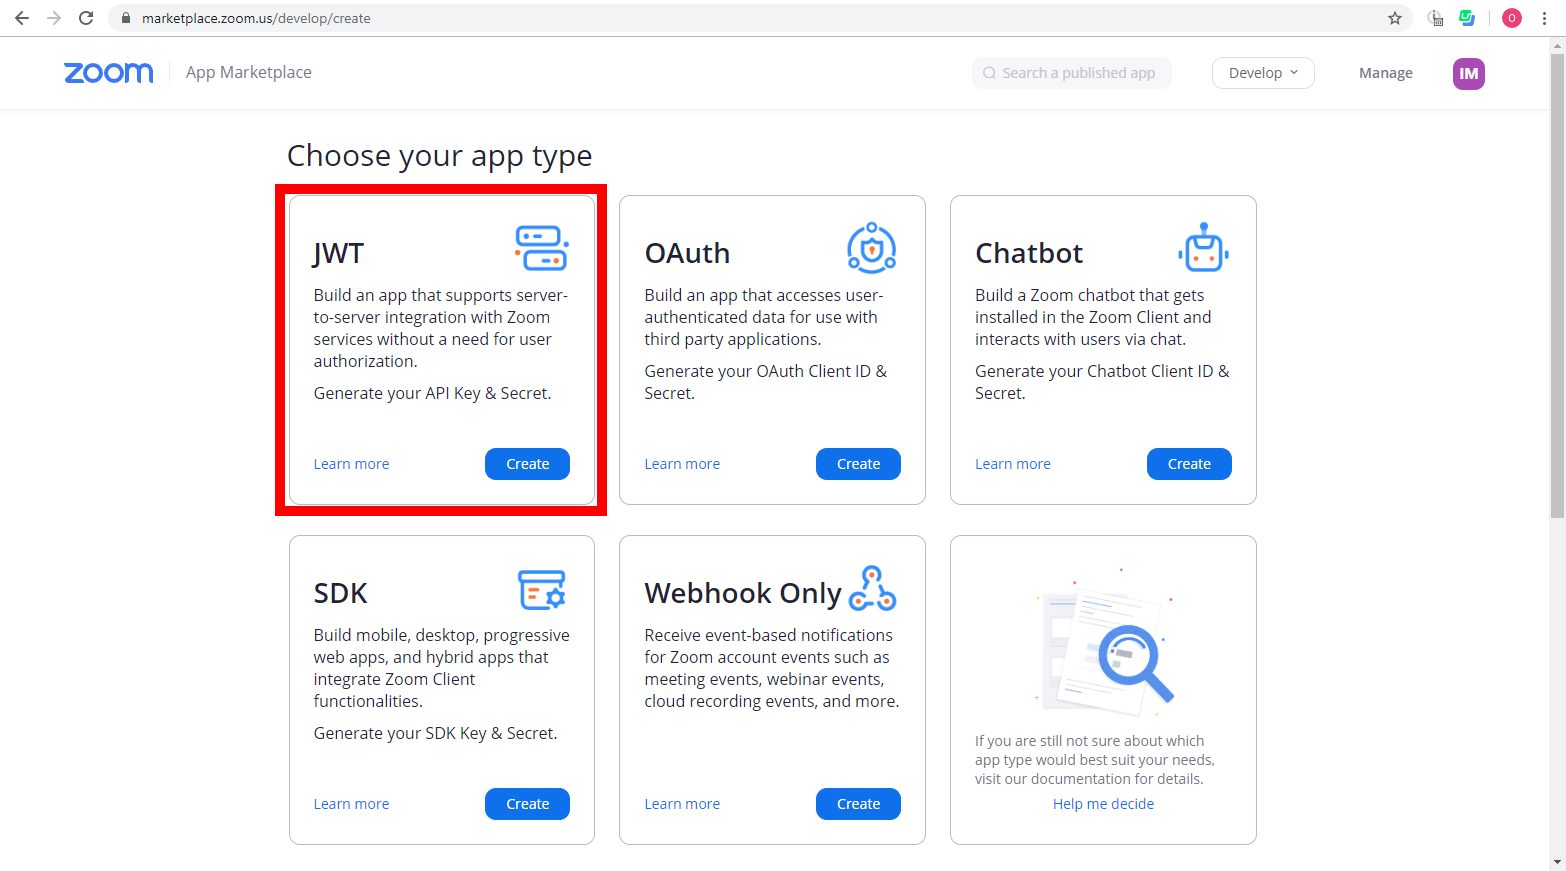
- Fill the "Start building a new app" form as follows and confirm it by clicking the "Create" button.
App Name The app name, e.g. My AppIntend to publish this app on Zoom Marketplace disabledChoose app type Account-level appAuthentication type JWT API Credentials
- Fill in the the required information in the "Basic Information" and "Developer Contact Information" sections and confirm it by clicking the "Continue" button.
Company Name Your company name, e.g. My CompanyName Your name, e.g. My NameEmail Address Your email address, e.g. MyName@mydomain.com
- You will be switched to the "App Credential" tab. Copy the API Key and API Secret:

- Open Integromat in a new web browser window/tab.
- Create a new scenario, insert a Zoom module, click on it to open its configuration and click the "Add" button in the Connection field.
- Paste the copied API Key and API Secret into the API Key and API Secret fields respectively and press the "Continue" button to create the connection.

The connection should be now successfully created, you may now continue with configuring the module.
Event Subscription (Webhooks)
To receive event notifications in your Integromat scenario, follow these steps:
- In Integromat, create a new scenario.
- Insert the Webhooks > Custom webhook module (see Webhooks for further details on webhooks).
- Click on the module to open its configuration. Click the "Add" button in the Webhook field, adjust the webhook's name and click the "Save" button to create the webhook.
- Click the "Copy address to clipboard" button to copy the webhook's URL. Click the "OK" button to close the module's configuration.
- Open Zoom App Marketplace.
- If not signed in, click the "Sign In" link in the top right corner and sign in.
- Click the "Manage" link int the top right corner.
- Click on the name of the app you have created:

- Switch to the "Feature" tab. Enable the "Event Subscription" option. Paste the copied URL into the Event notification endpoint URL field and click the "Add events" button to choose the events you would like to be notified of:

- Once you have added the events, confirm the changes by pressing the "Save" button:


