Google Cloud Text-to-Speech
The Google Cloud Text-to-Speech modules to convert text or Speech Synthesis Markup Language (SSML) input into audio data of natural human speech.
Getting Started with Google Cloud Text-to-Speech
Prerequisites
- A Google account
- A project created in the Google Cloud Console
- Billing enabled for the Google project
In order to use Google Cloud Text-to-Speech with Integromat, it is necessary to have a Google account. If you do not have one, you can create a Google account at accounts.google.com.
Connecting Google Cloud Text-to-Speech to Integromat
To connect your Google Cloud Text-to-Speech account to Integromat, you will need to obtain the project's Client ID and Client Secret in the Google Cloud Console.
1. Sign in to Google Cloud console using your Google credentials.
2. Click Select a project > NEW PROJECT. Enter the desired project name, and click the CREATE button. You can also select an existing project (and skip creating a new project).

3. Select the project you have created (or an existing project you want to use).

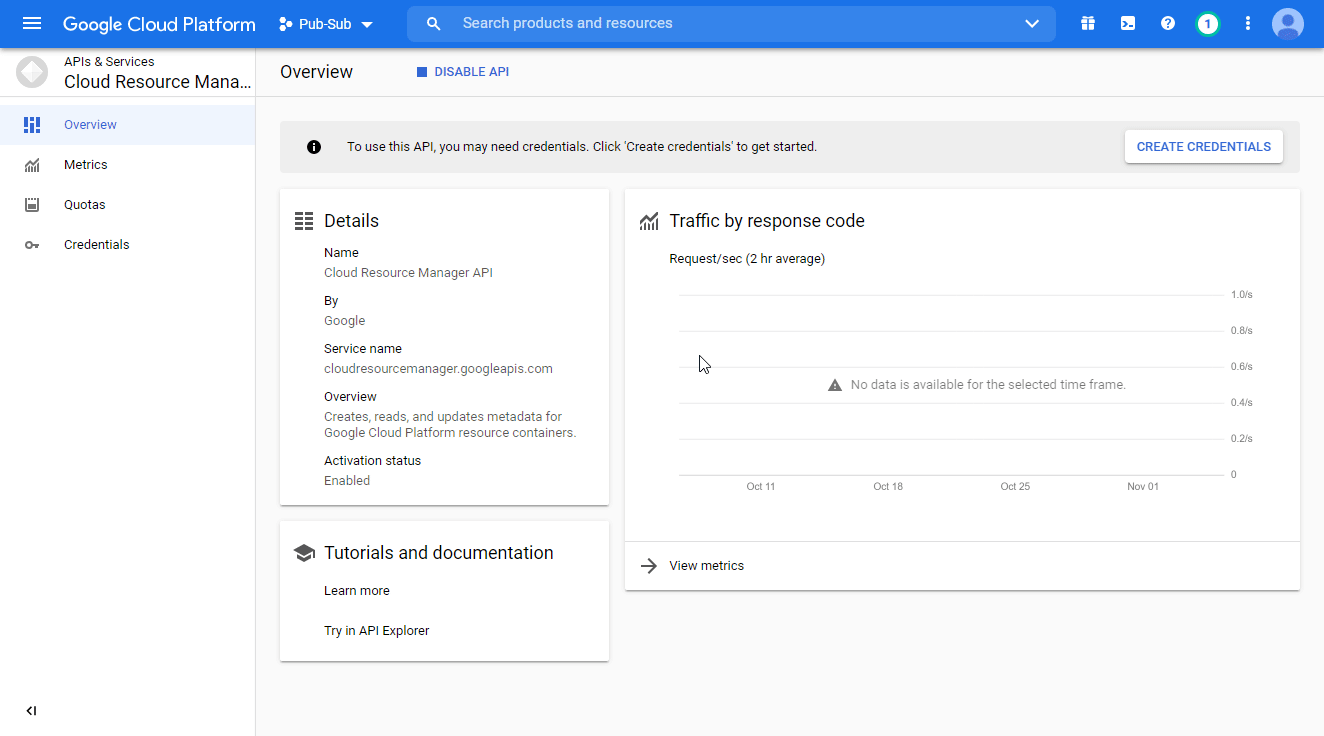
4. Go to APIs & Services > Library.
5. Search and enable the following APIs:
- Cloud Text-to-Speech API
The desired service option should display as you type. Click on the API/service you want to connect to Integromat.

6. Click the ENABLE button to enable the selected API. The billing account must be enabled for the project. See the Modify a project's billing settings documentation.
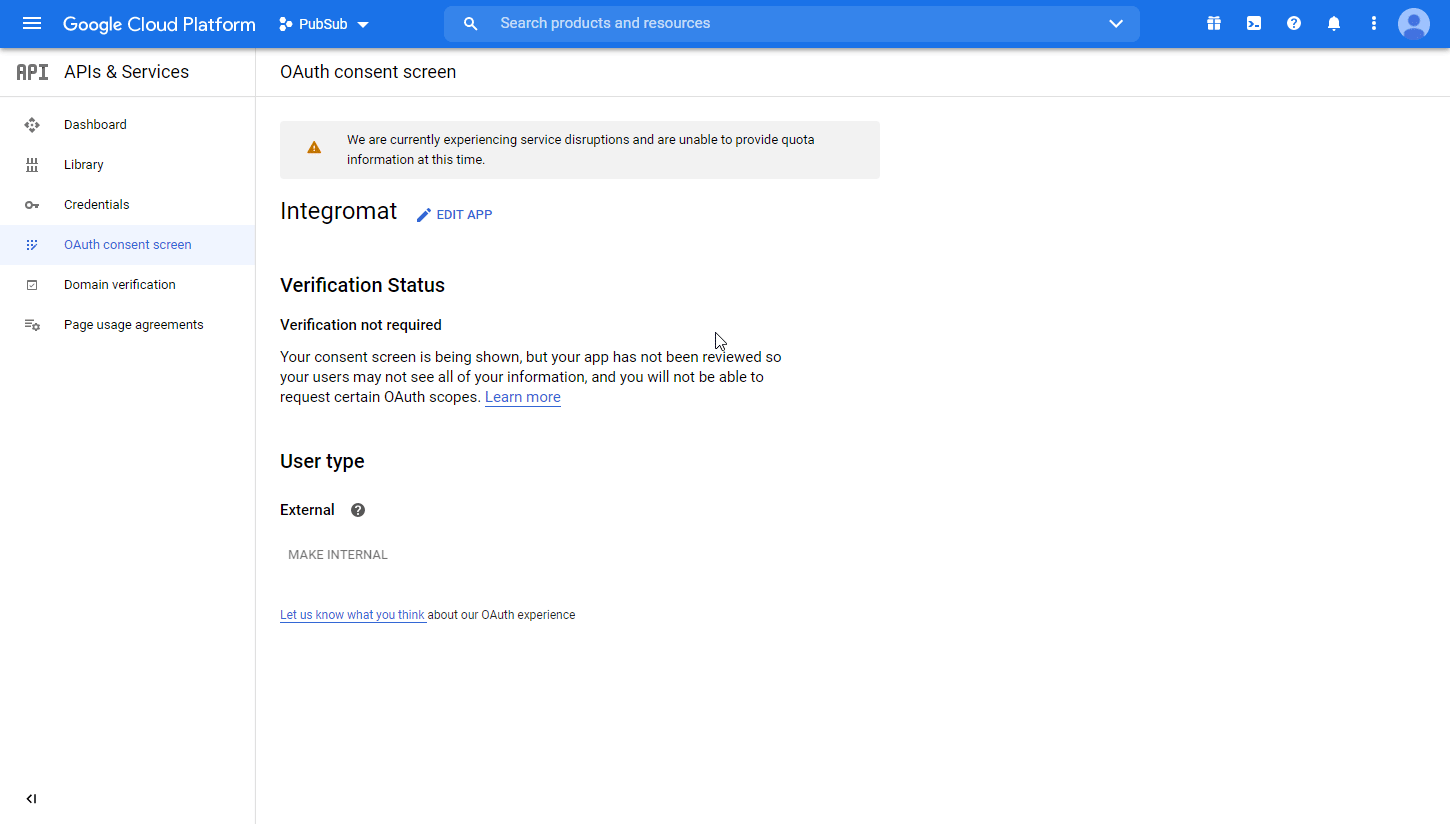
7. Navigate to APIs & Services > OAuth consent screen settings, choose the External option, and click the CREATE button.
8. Fill in the required fields as follows:
For OAuth consent screen section:
| Application name | Enter the name of the app asking for consent. For example: |
| User Support Email | Select your email. |
| Authorized domains | integromat.com |
| Developer contact information | Enter your email. |
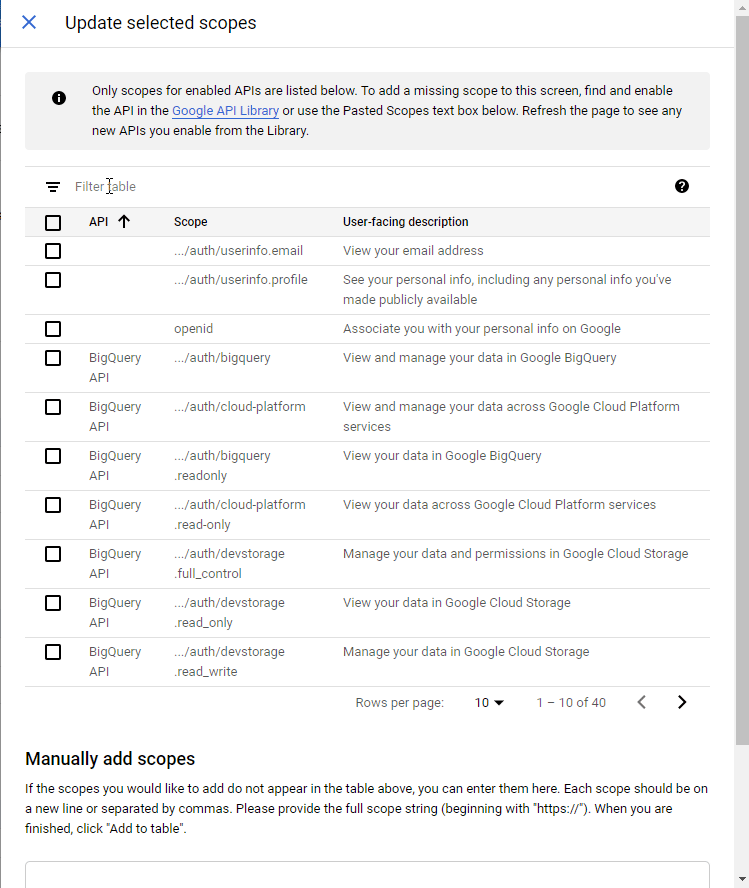
For the Scopes section:
Click the Add or Remove Scopes button to add the required scopes.
| Scopes for Google APIs | Add required scopes for the Google service you want to connect to Integromat.
The list of required scopes:
|
For the Test Users section (if you are using a GSuite account under an organization):
Click the ADD USERS button to add the email address associated with the Google account you want to connect with Integromat.
11. Navigate to Credentials. Click on the +CREATE CREDENTIALS, and select the OAuth Client ID option.
12. Fill in the required fields as follows, and then click the CREATE button to create the application:
| Application type | Web application |
| Name | e.g. Integromat |
| Authorized redirect URIs |
|

13. A dialog containing the app's Client ID and Client Secret is displayed. Save them in a safe place for later use.

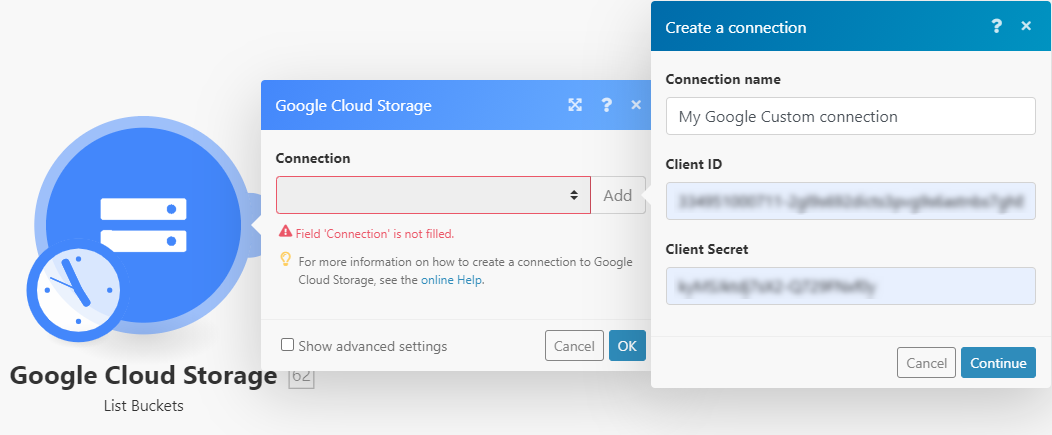
14. Go to Integromat, open the Create a connection dialog of the desired Google Cloud Text-to-Speech module, enter the Client ID and Client Secret from step 13 above in the respective fields, and click Continue.
15. Sign in with your Google account.
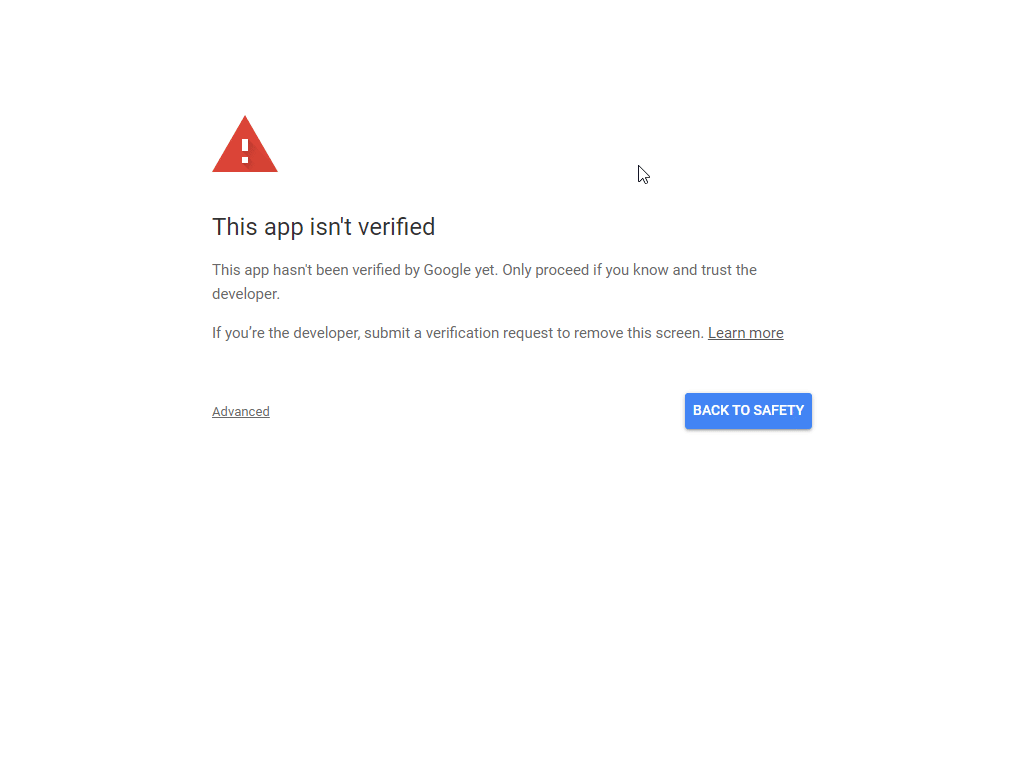
16. The This app isn't verified window may appear.
17. Click on the Advanced link and then on the Go to Integromat (unsafe) link to allow access using your custom OAuth client.
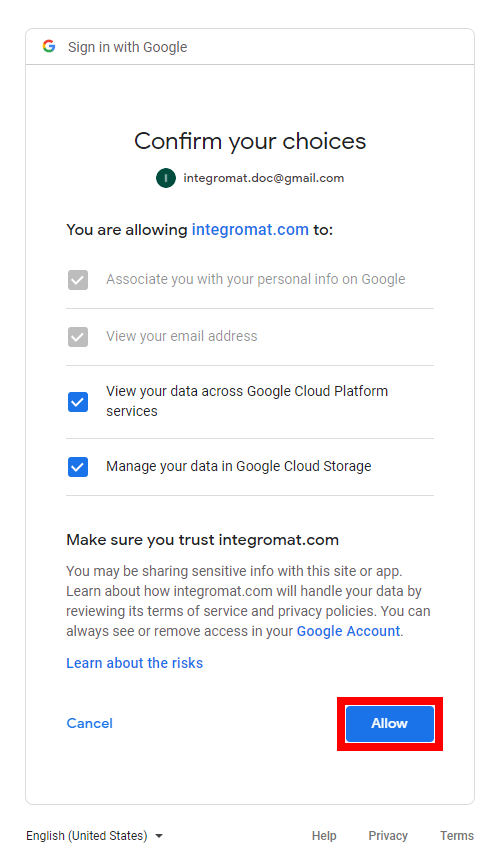
18. Click Allow twice to grant Integromat permission.

19. Click the Allow button to confirm your choices.
The connection to your Google Cloud Text-to-Speech has been established.


