Creating a Scenario
In order for Integromat to automate your tasks for you, you have to create a scenario. A scenario is comprised of a series of modules that indicate how data should be transferred and transformed between apps/services.
There are 4 steps to creating a scenario:
Example: Sharing Links Using RSS to a Facebook Page
To exemplify how to create a scenario, we will go through the 4 step process step-by-step. We will use the scenario of sending new RSS feeds from the desired website using RSS to your Facebook Page, as our example.
Note: Before you begin creating any scenario, ensure you are signed in to your account and on your Dashboard page.
Step 1: Choose your apps
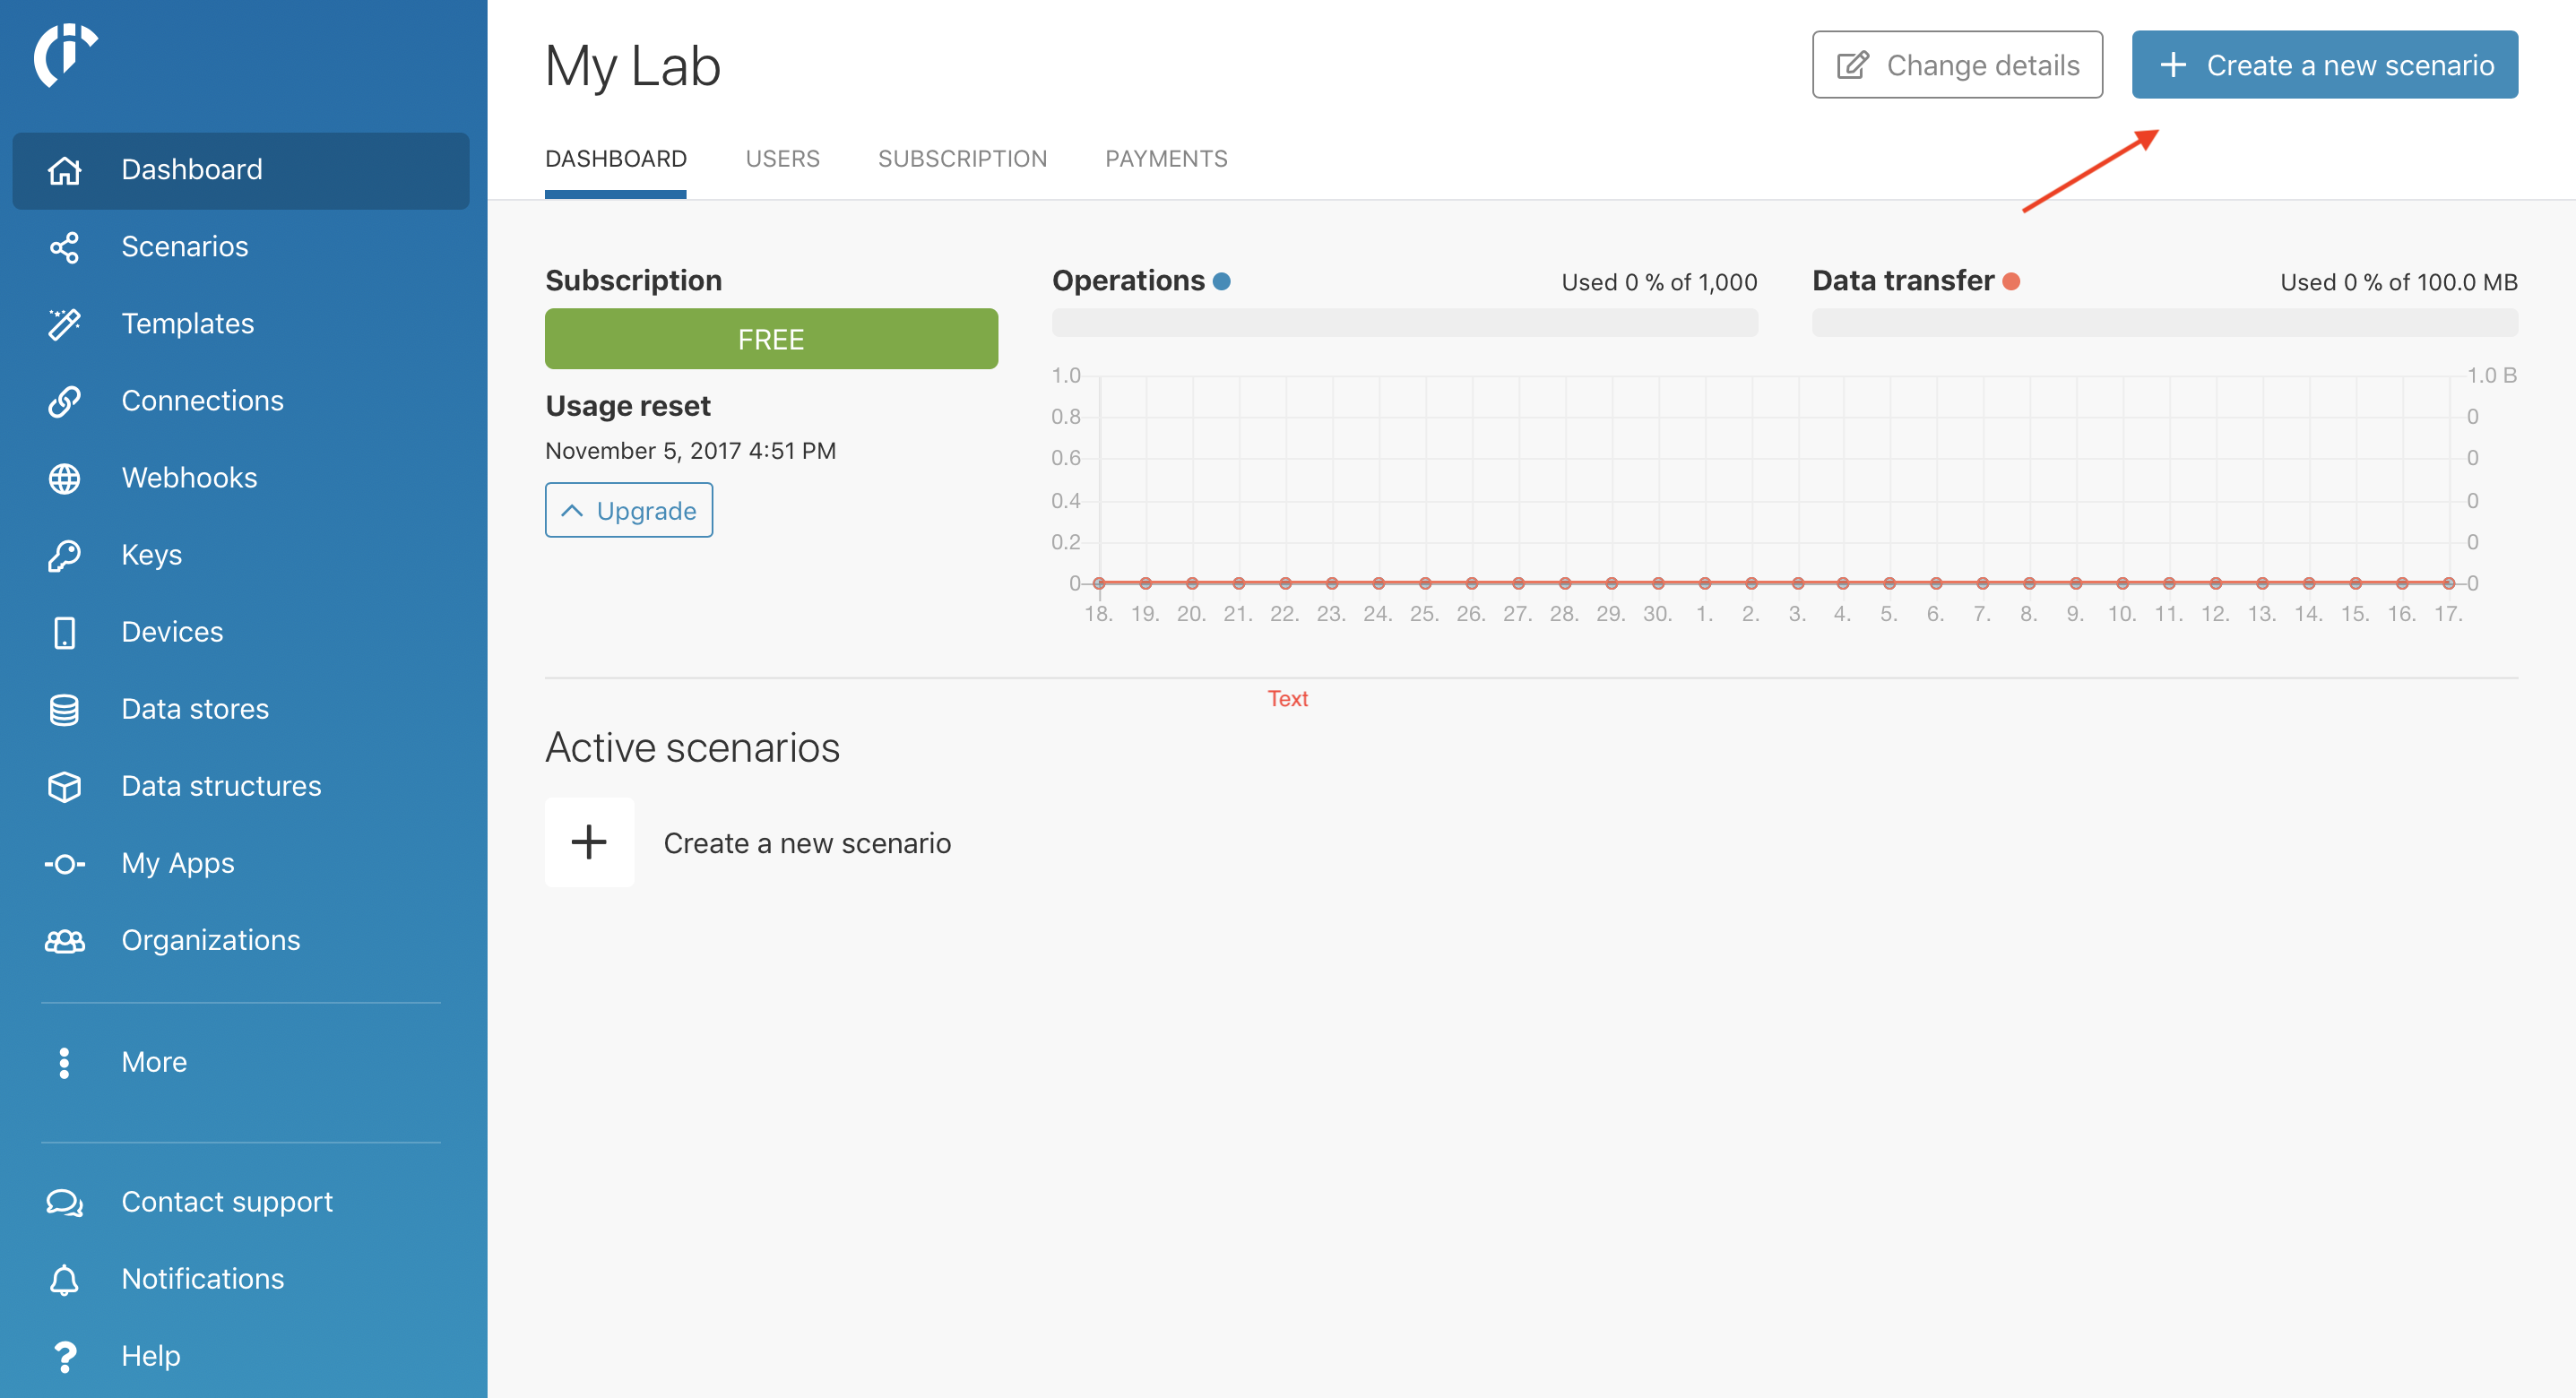
Once in your Dashboard, click the Create a new scenario button, as seen in the top-right corner in the image below.
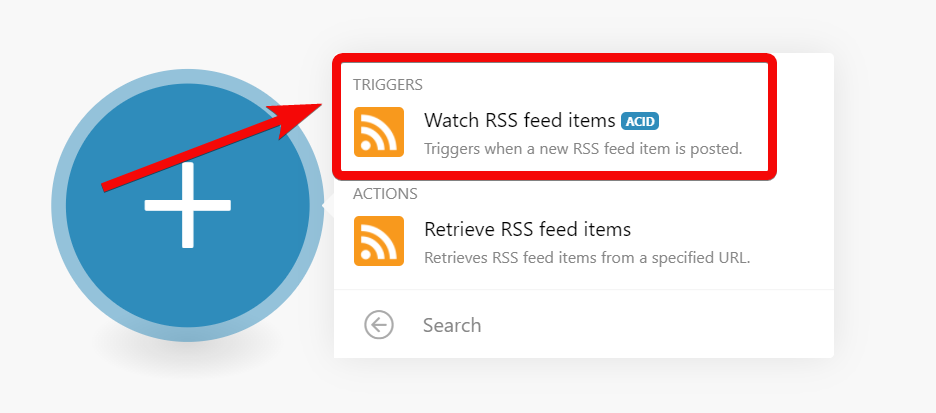
A screen will come up that will allow you to search and choose the apps/services you would like to use. In this case, search for RSS and click the app.
Step 2: Build your scenario
Now in the scenario editor screen, an empty module with a question mark will be displayed. Here, you will have to choose what data the scenario should watch for. You will do this by choosing a trigger that will start your scenario. In this case, click RSS and choose the Watch RSS feed items module.
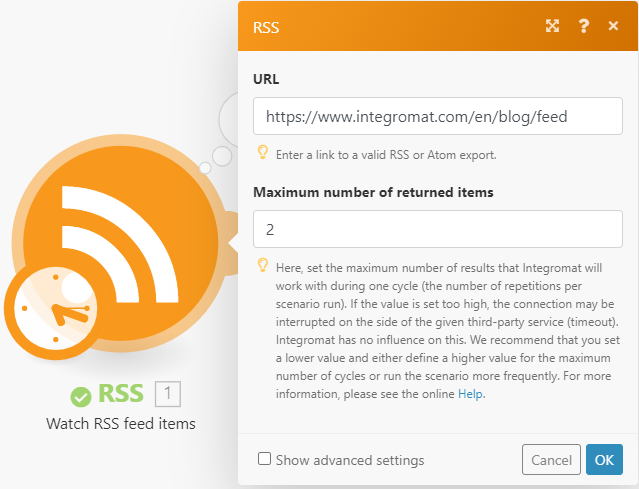
Enter the URL of the RSS feed you want to watch to the URL field and set the maximum limit of returned feeds in one scenario run.
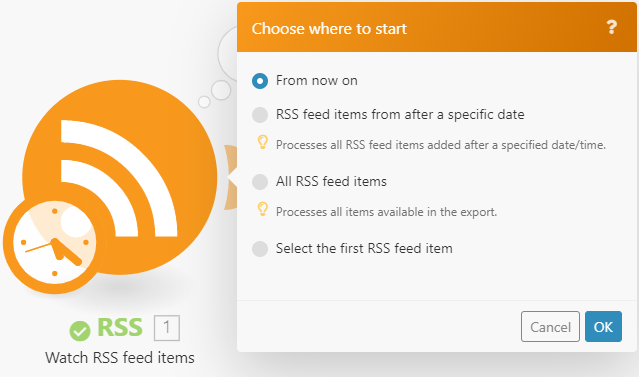
Next, you will have to choose where to start grabbing data from. The below image is a representation of the different options available.
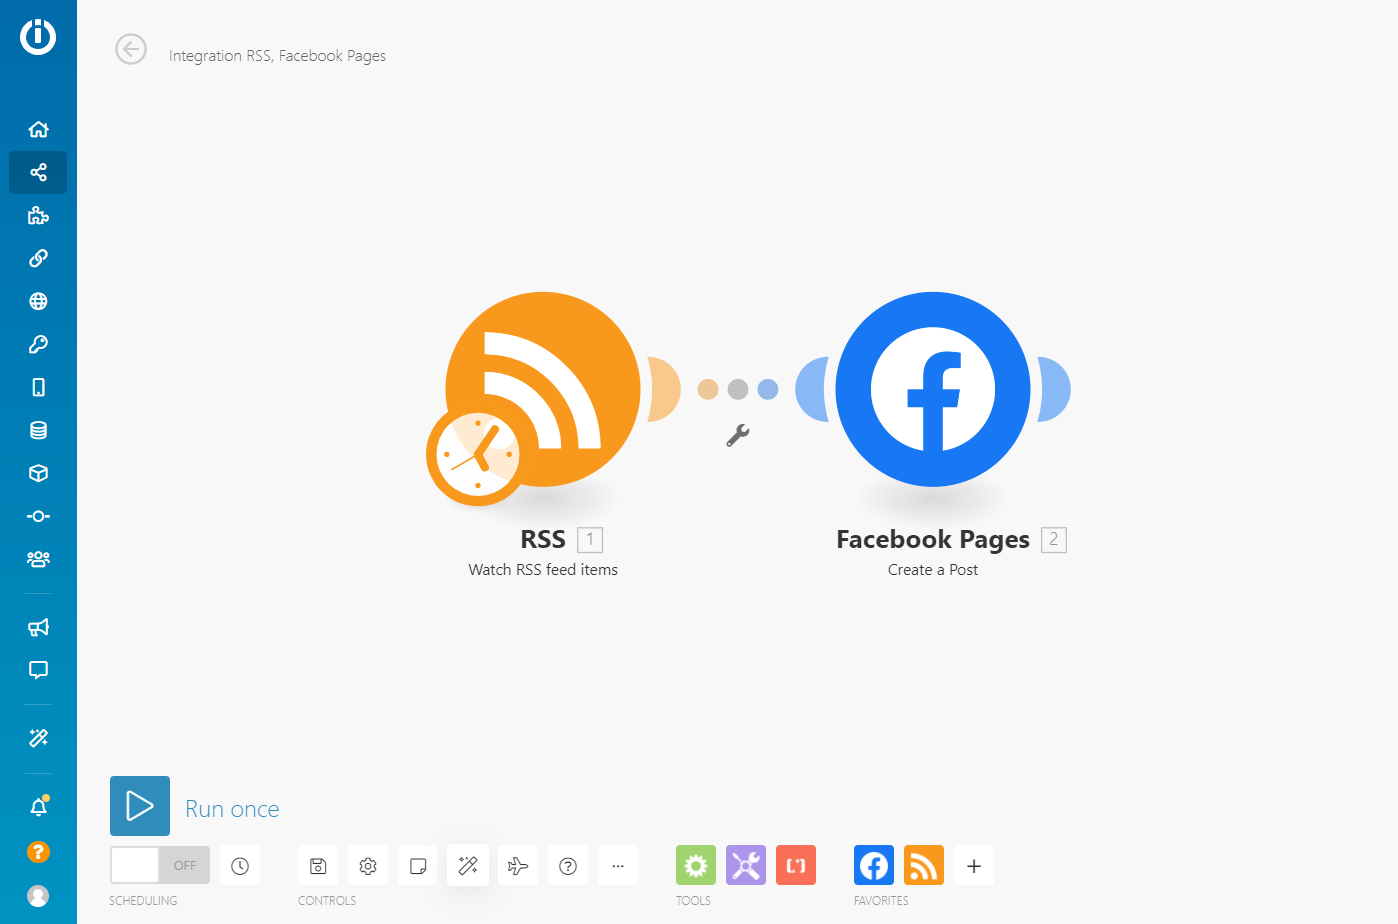
Now, click the right ear of the first module and it will pop up a screen for you to add the next module. In this case, add the Create a Post for Facebook Pages module.
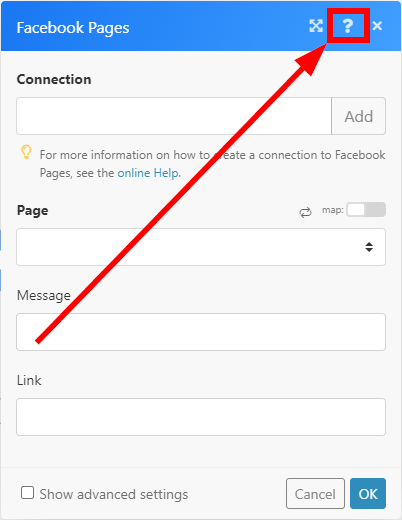
Now, you will have to create a connection to the corresponding service.
The step-by-step description of creating a connection for the given service/app is displayed after clicking the question mark in the top-right corner of the module settings dialog.
Lastly, you will have to select the page and map the items that you want to send from RSS to your Facebook Page.
Note: For more robust scenarios, repeat the same steps for Step 2 until all the modules are added.
Step 3: Test your scenario
Before you activate and schedule your scenario, you should test your scenario by running it once. To test your scenario, click the play button with Run once beside it.
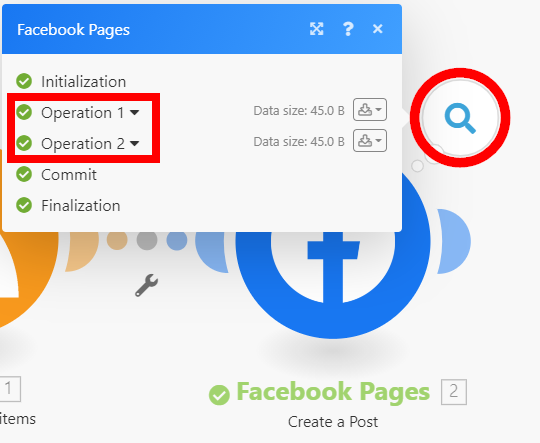
Once you have tested your scenario, a bubble appears on top of the preceding modules that will provide information about the processed data or what is referred to as bundles.
By clicking this icon it will display the information about the processed bundles, including the number of operations. By clicking the individual operations (Operation 1 and Operation 2 in the diagram below), you can see which module settings were used and which bundles were returned by which module. For more information, please see the Execution flow section.
Testing your scenario is vital for seeing how data flows through your scenario. It will also help to show if there are any errors in your scenario.
Note: If you encounter an error for any scenario, please see our Error processing section.
Step 4: Activate your scenario
Your scenario is almost ready to run, but it's still inactive.
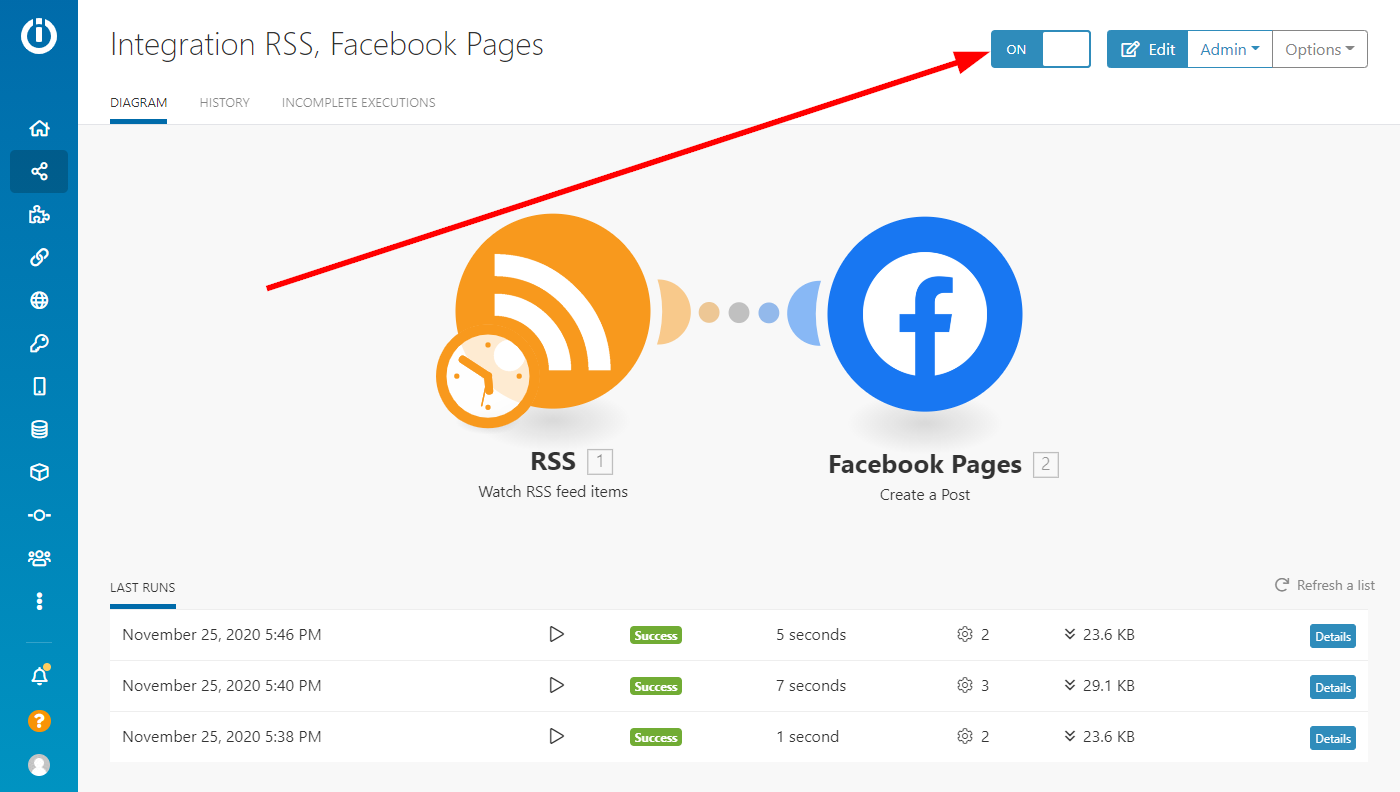
To activate your scenario, exit the scenario editor by hitting the arrow icon in the top-left corner, as shown in the animation below.
This will return you to your Scenario page. Here, you can activate your scenario by clicking "ON" on the ON/OFF button that is at the top of your scenario page and set up the schedule.
Once activated, your scenario will run according to its schedule.
For further details on Scenario Editor, please visit our Scenario Editor documentation.


