How to connect Chatfuel to Airtable
Integration: Send your bot data to an Airtable
Level of difficulty: Easy
Implementation Time: Approximately 30 Minutes
----
Since you’re reading this, my guess is that you’re already familiar with how Integromat can give your Chatfuel bot superpowers. There’s something truly amazing about seeing your chatbot data sync with an Airtable or a Google Sheet in real-time, but do you know what’s even better? Watching an Integromat scenario being executed flawlessly! And that is exactly what I am going to show you today. In this tutorial, we use Airtable instead of Google Sheets. However, the setup for both is almost identical so you can choose either. In case you’re not familiar with Airtable, simply put, it is Google Sheets on steroids.
Step 1: Create a Scenario on Integromat
A scenario in Integromat is simply a function that performs a specific set of actions.
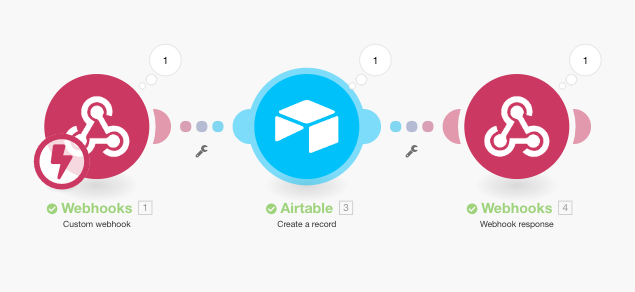
The scenario that we are going to create will look like this:
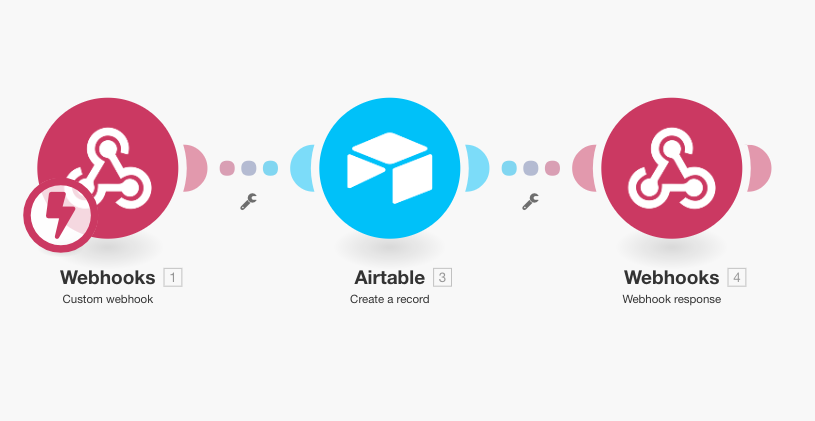
The above scenario comprises 3 modules; let’s start with the first.
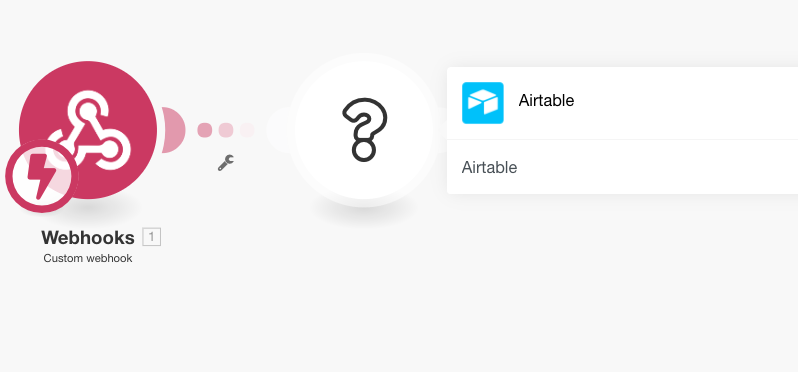
- In the first step of the scenario, you need to choose the Webhooks module (until we release the official Chatfuel integration).
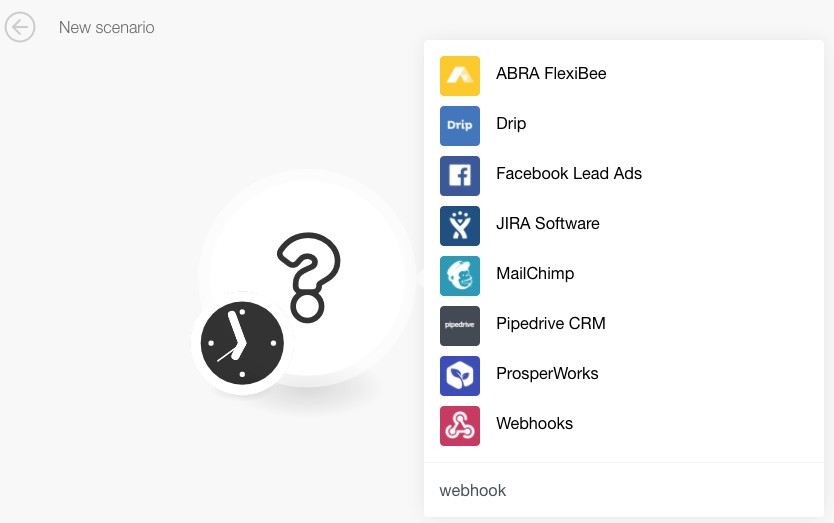
- Next, you choose Custom Webhook as the trigger:

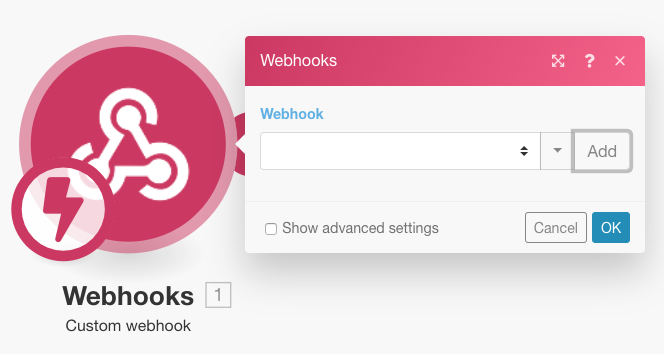
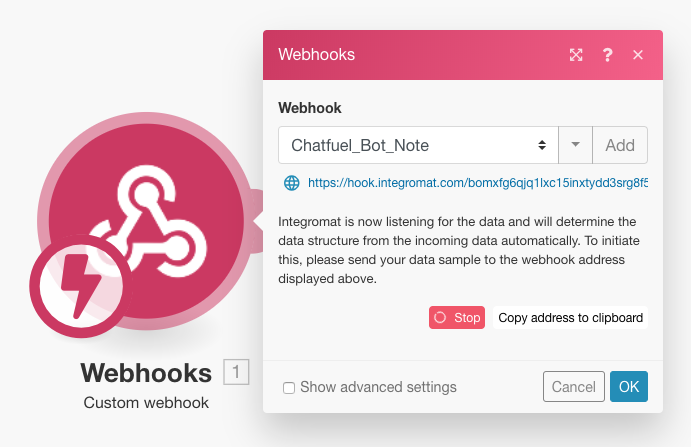
- Next, click on ‘Add’ to create a new webhook. Later you can select the same hook from the dropdown menu:
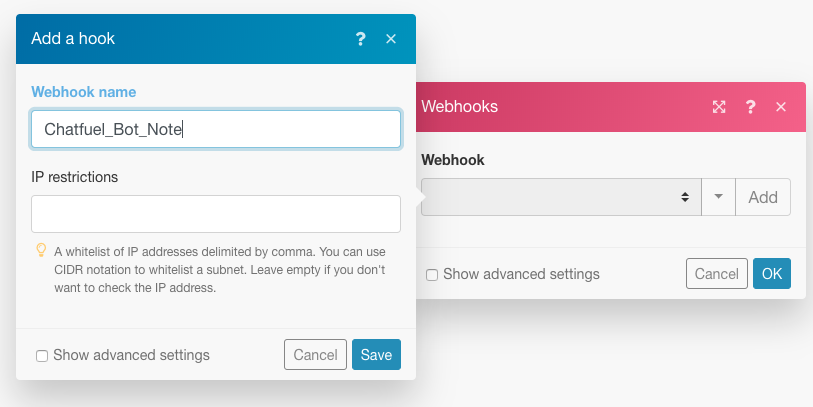
- Next, give your hook a name. I have called it Chatfuel_Bot_Note:
- Next, you will see that your Webhook URLhas been created. Copy it and move on to Step 2:
Step 2: Set up the JSON plugin in Chatfuel
To send data from your Chatfuel (CF) bot to any external service, you need to use the JSON APl plugin inside a CF Block as below:
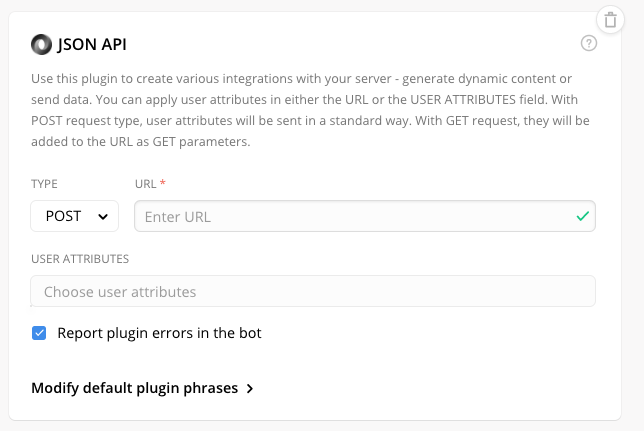
- Under TYPE, choose the POST method. Why you ask? Simply because it’s more secure than GET. To learn more about the differences between the two, follow this link.
- Under URL, you need to paste your Webhook URL that you got from Integromat in the previous step.
- Under USER ATTRIBUTES, you need to select all the attributes that contain data that you wish to send to your Airtable.
- Once the above steps are done, it should look like this:
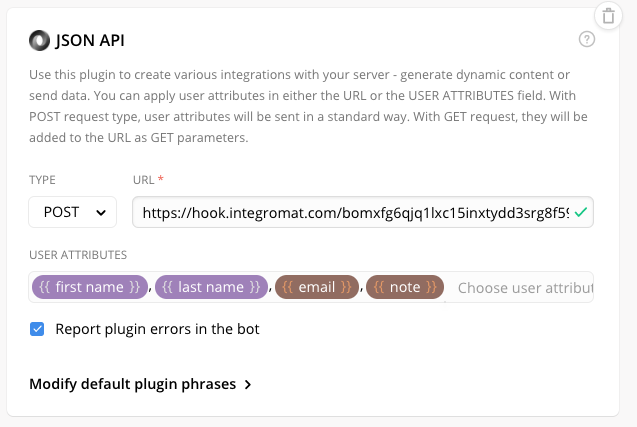
I have passed only 4 attributes but you can pass all the attributes containing data you wish to send to the Airtable.
- Next, you need to trigger the block containing the above plugin for Integromat to determine the data structure based on the attributes you’re trying to pass. You can do this by testing your bot and arriving at this block or by creating a link with the REF parameter from the top of the block.
IMP: Do the above before you proceed, else you will not see the attributes appear on the next module.
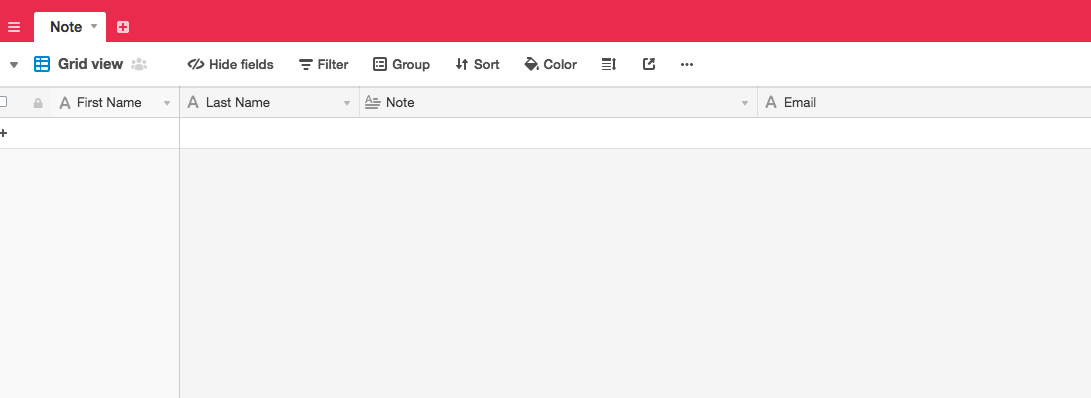
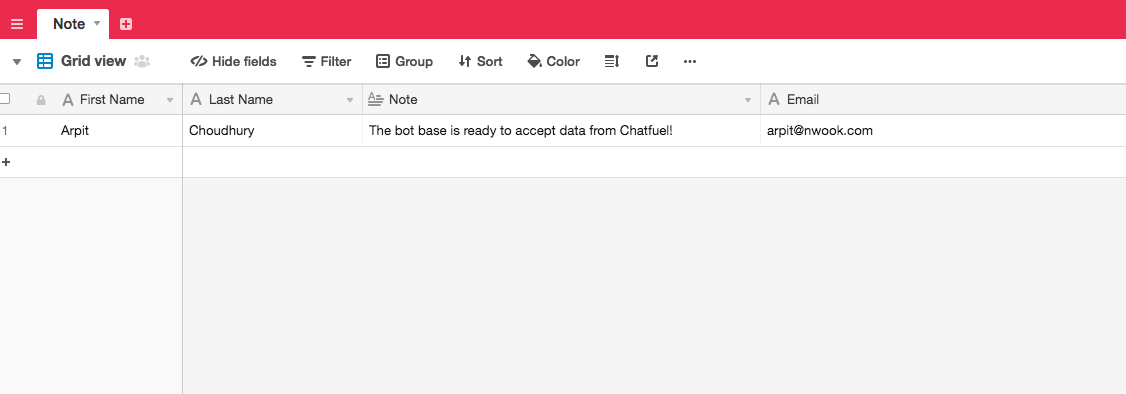
- Once this is done, before you proceed, head over to Airtable and create your bot base (this is the same as creating a new file on Google sheets) and set up the columns as fields for your bot data:
Step 3: Set up the Airtable module
- To set up Airtable as the next module, click on add another module and look for Airtable:
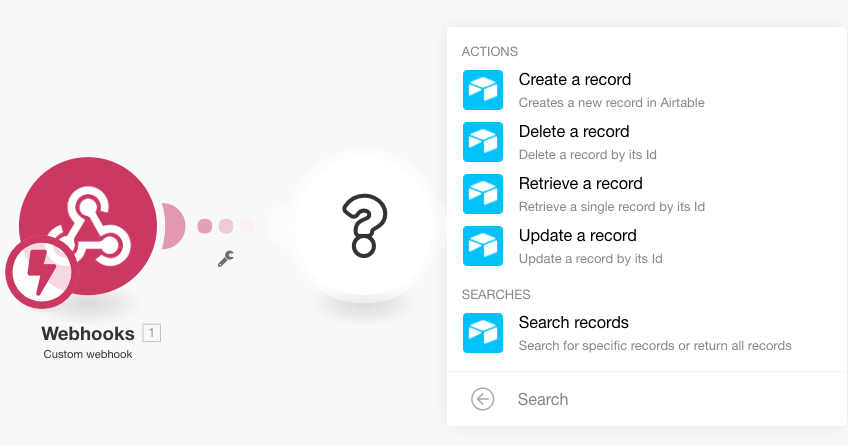
- Next, click on Airtable, and choose the Create a recordas the action:
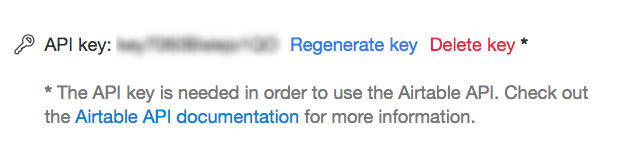
- Now connect your Airtable account by clicking on Add under Connection. Here you need to provide your Airtable credentials as well as your API Key which can be found under your Account settings on Airtable (https://airtable.com/account):
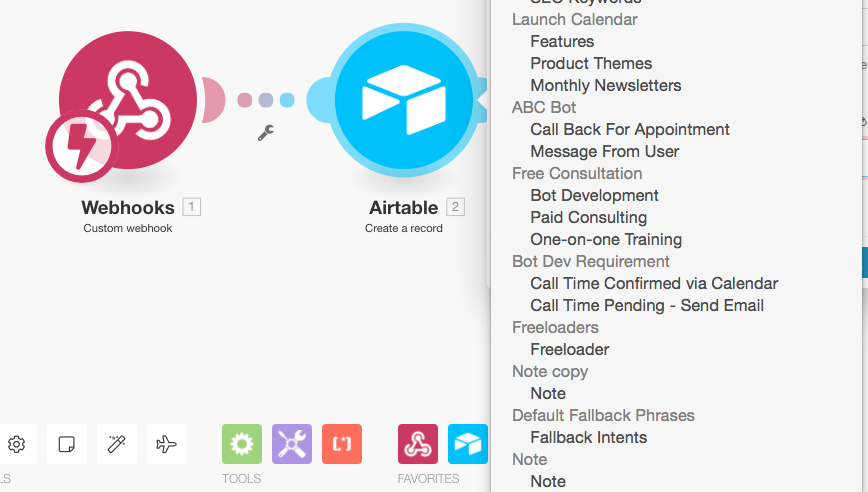
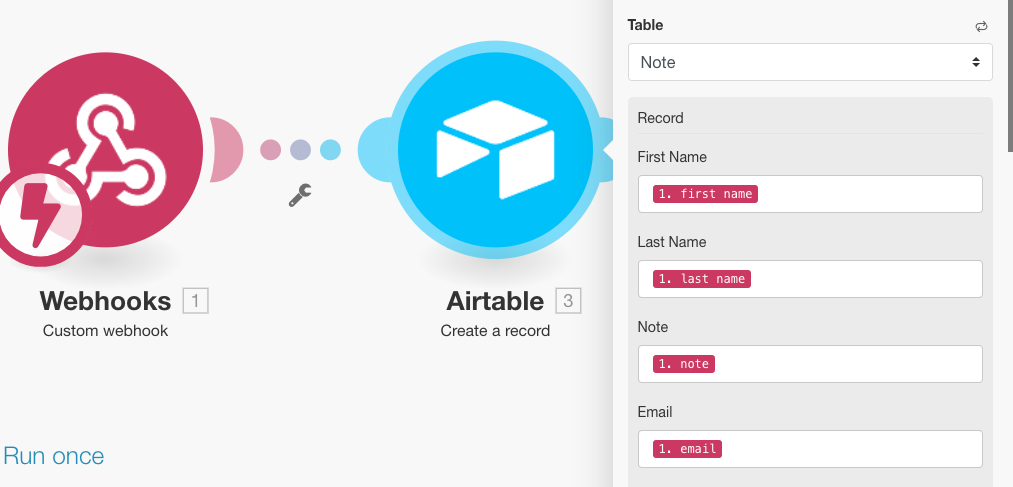
- Once the connection is successful, you will be able to see all the bases in the dropdown labeled Table. Choose the base that you created in the previous step:
- If you have connected to the correct base, you will see the fields corresponding to the columns you created earlier. All you need to do is place the bot attributes in the respective fields and hit OK to run the scenario and create a new record on Airtable:
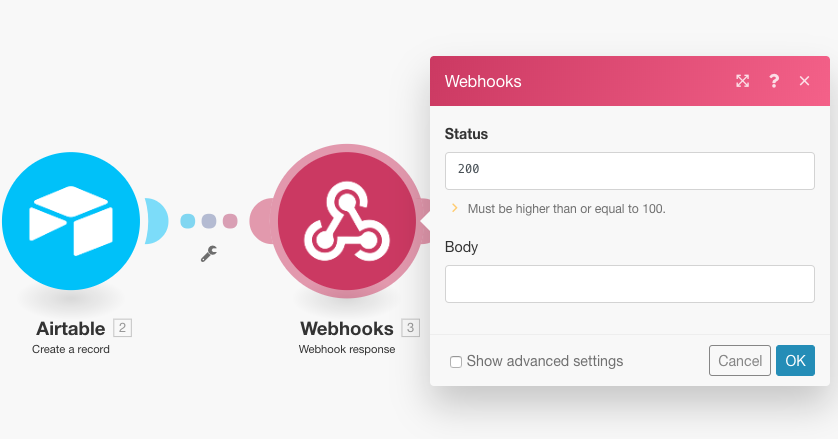
- But before you run it, you need to do a little something so that you don’t receive an error message in your bot. Add another module and select webhook response:
- In the body, create a JSON object by typing in { “success” : “true” } :
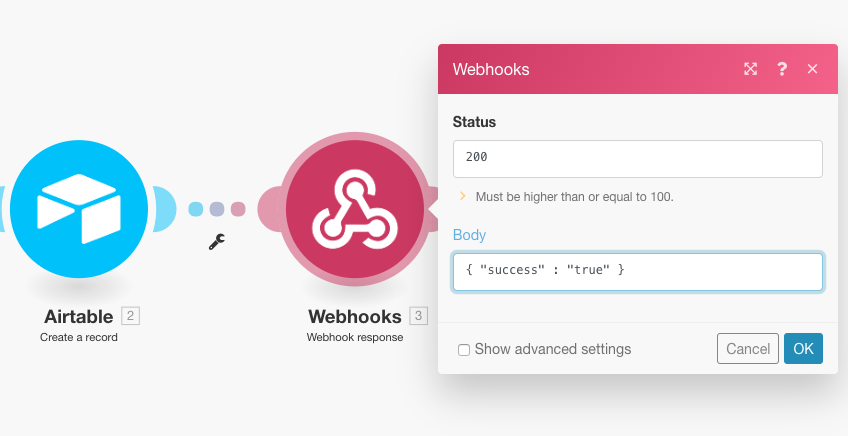
- This is to ensure a proper response is sent back to Chatfuel to avoid the all too common — “an error in JSON Plugin has occurred” message. The bot itself does not respond with anything since the JSON is not as per the format Chatfuel accepts. However, if you’d like the bot to respond with a message, you can refer to Chatfuel’s JSON API docs.
- Now click on the big blue play button that says Run once. If everything goes well, you should see the scenario execute itself flawlessly and your Airtable will have a shiny new record!
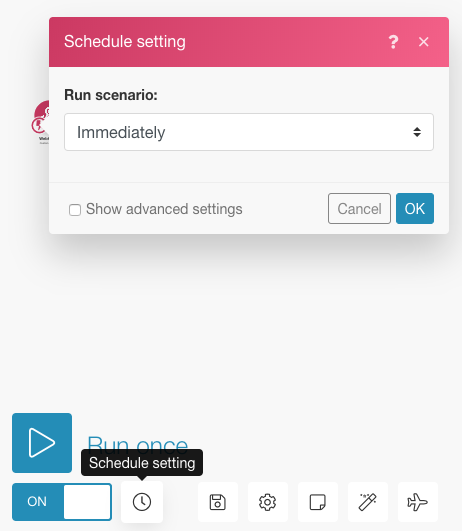
Lastly, just click on the little clock icon to choose the Schedule setting for your scenario, save it and turn it on by toggling the switch on the bottom:
That’s it! That was easy, wasn’t it?
Let us know what you think of this tutorial and how we can improve it. If you were stuck somewhere, please leave us a comment! If you have suggestions for the next topic, do tell.


