Get a tweet on Twitter when a new tweet is created in a row in a Google Sheets spreadsheet
Description
Everytime you create a tweet on Google sheet, Integromat will automatically post the tweet from your Google sheet to your Twitter account.
Final Output

Step-by-Step Documentation
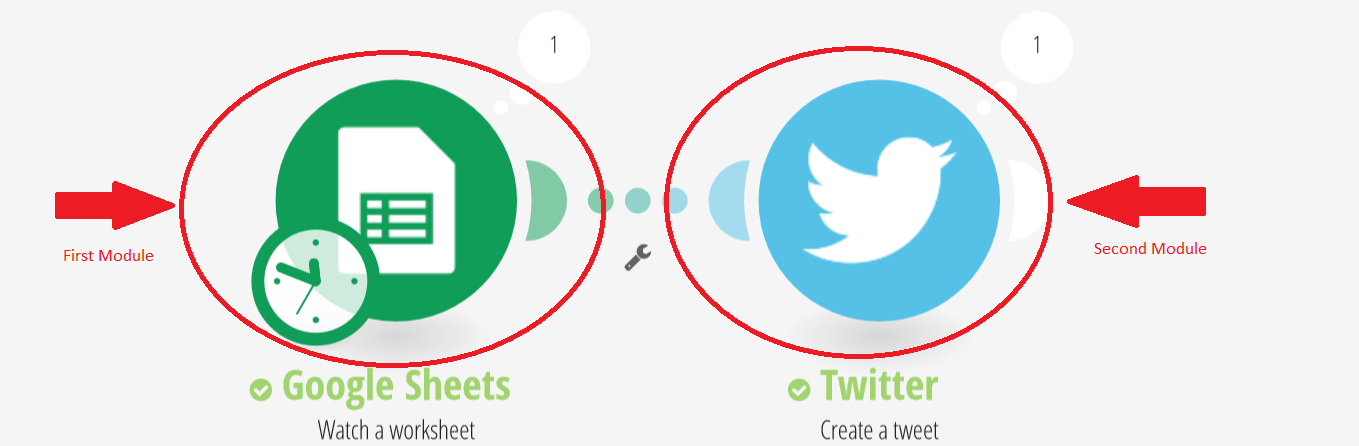
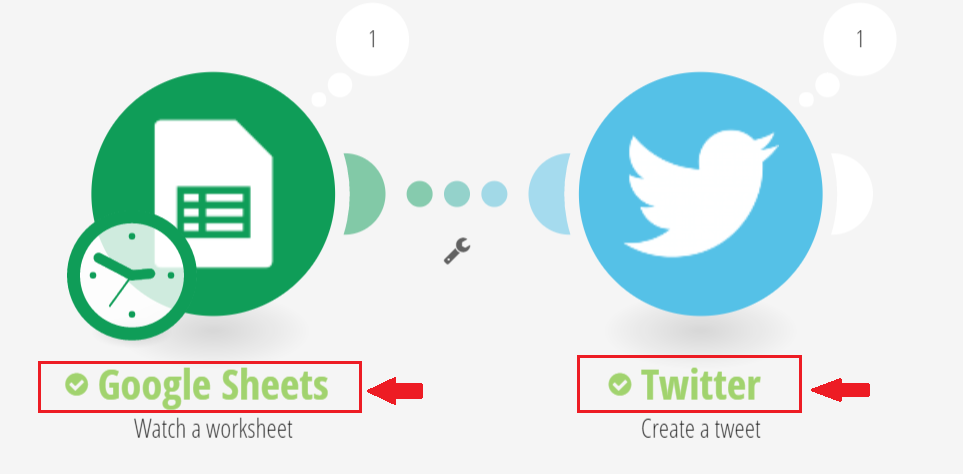
Based on the final output we can see that there are 2 modules that are being used for this scenario.
Step 1
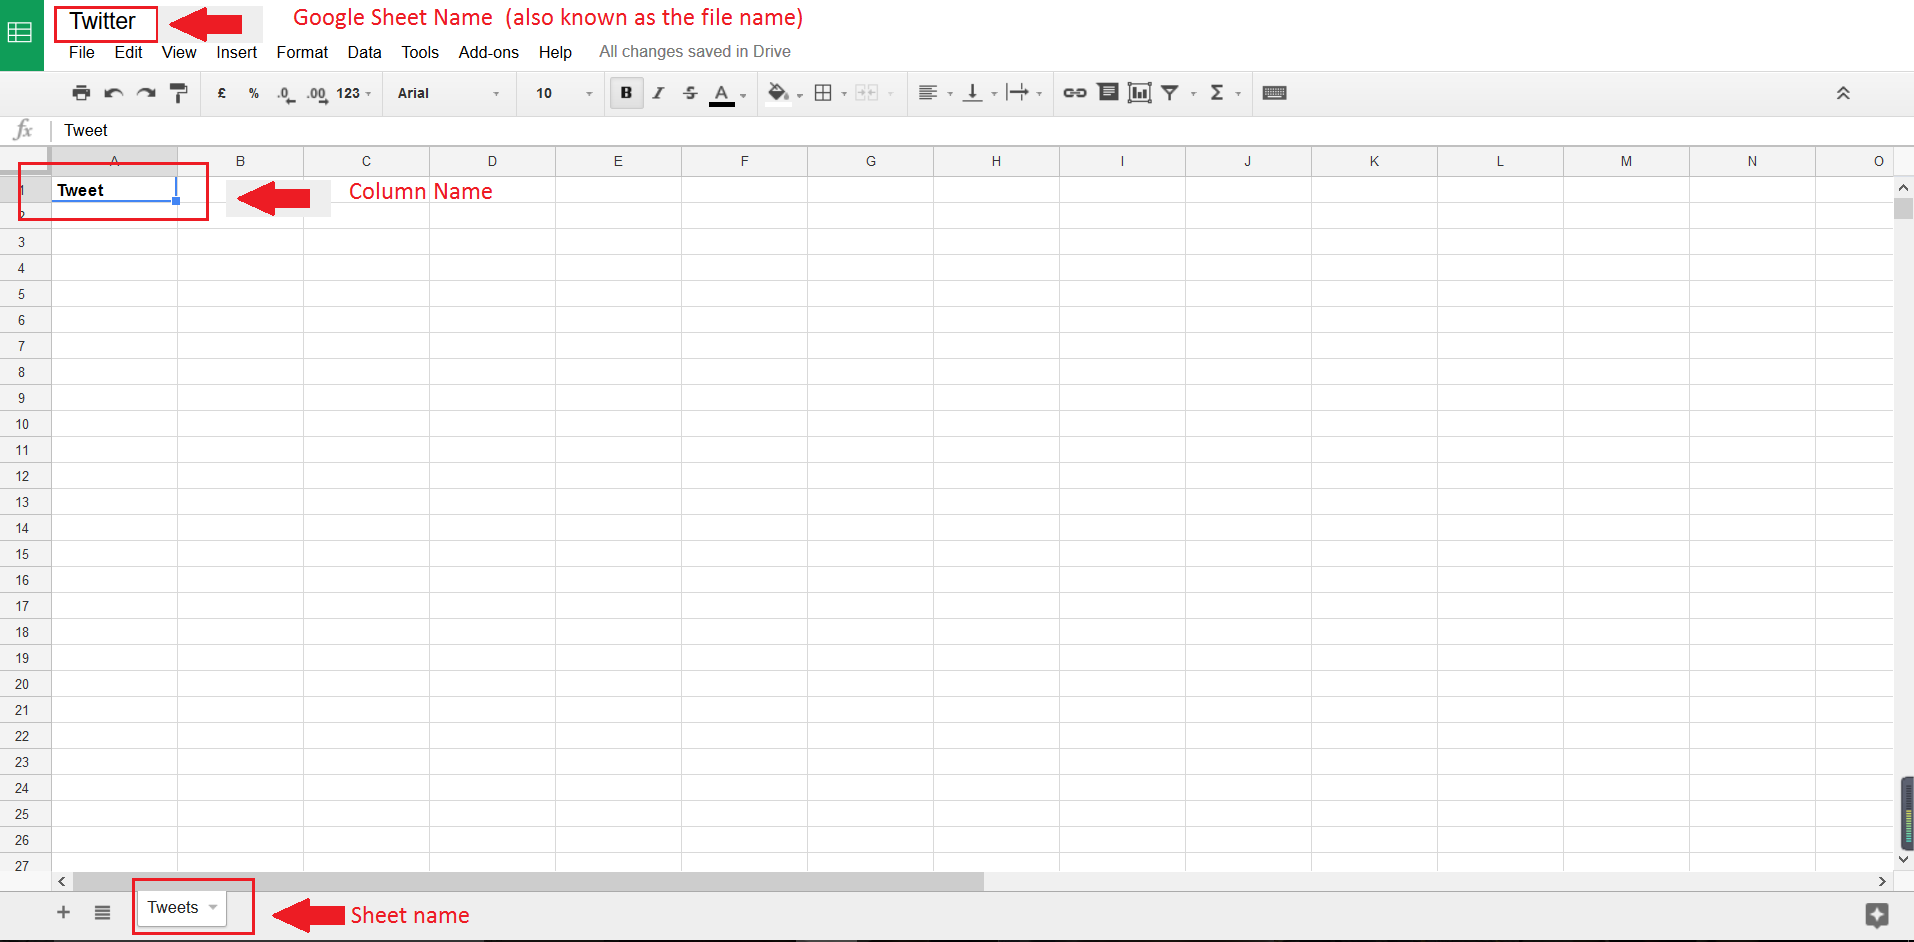
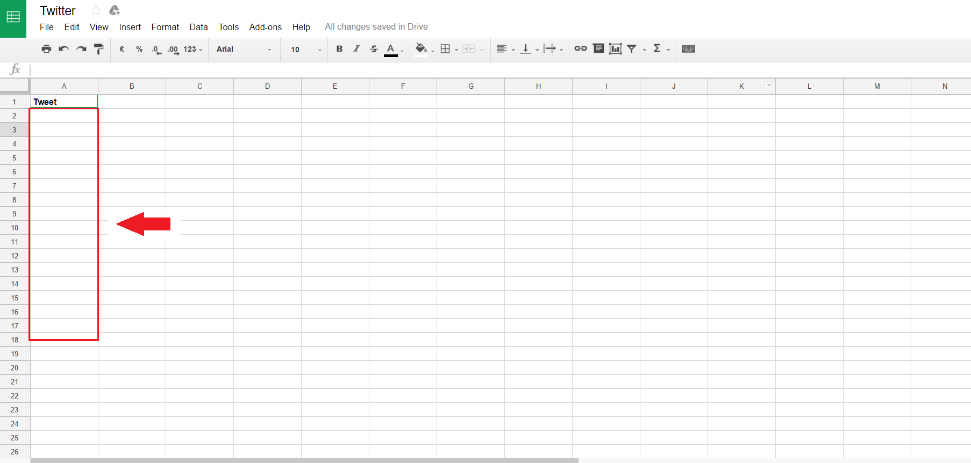
First, create a new Google Sheets spreadsheet with the file name Twitter and the sheet name Tweets and create your first column by creating a column name, such as Tweet.
Step 2
Now, go to your Integromat account and Login. Click on the Create a new scenario button.

Step 3
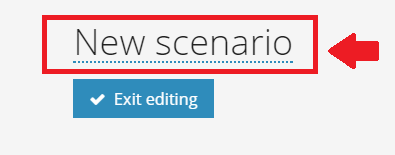
You may rename your own scenario depending on your choice. Click on the New scenario space. Then type your preferred scenario name e.g. My Personal Scenario (as seen on the images below).

Step 4
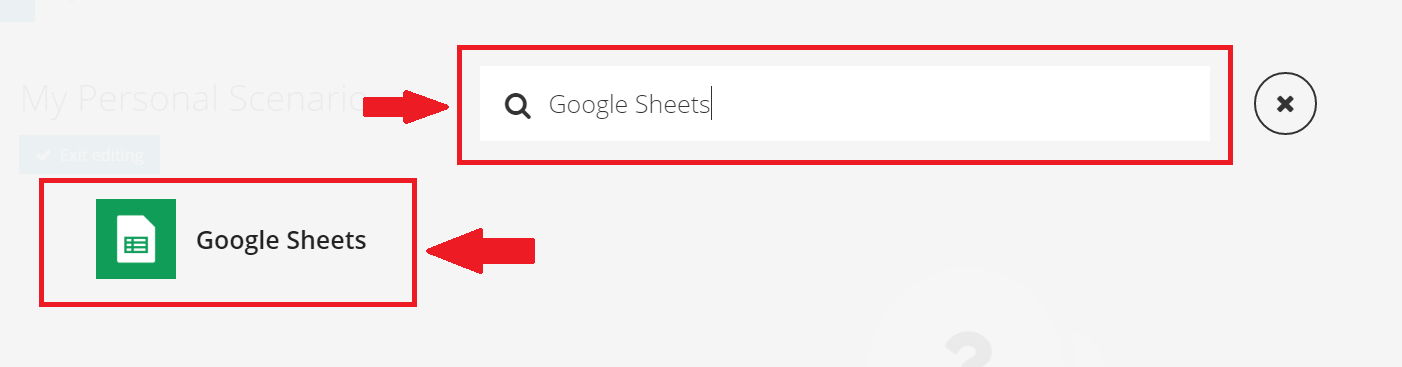
Click on the circle with the ? to select the Google Sheets app with its corresponding module.

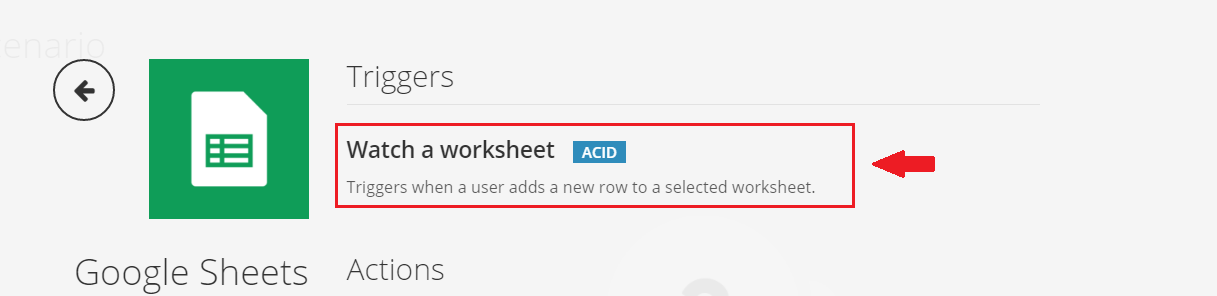
Selecting the app:
Selecting the module:
Once data is inputted, we want our module to monitor our Google sheet.
We will choose the Watch a worksheet module.
Step 5
Once you have the Google Sheets app with its corresponding module, you can modify each detail of your module.
This tab will open:
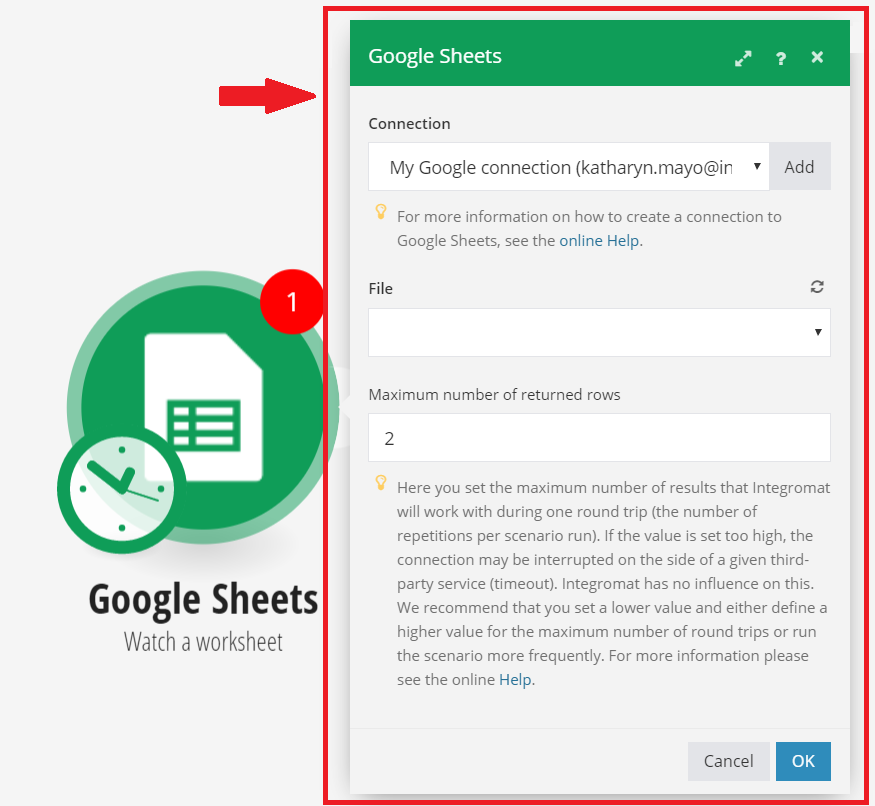
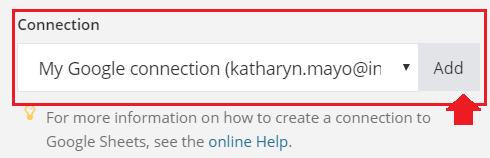
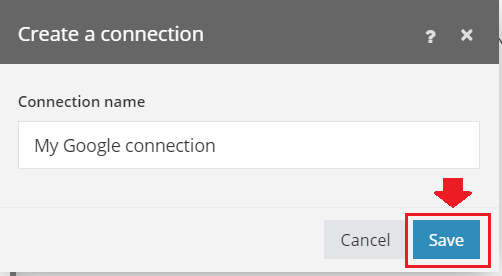
The Connection field, is where you connect to your Google Drive to choose your Google Sheets file. Click on the Add button. And then you click on the Save button which then opens a new window and then you have to Allow Access to your Google Sheet.
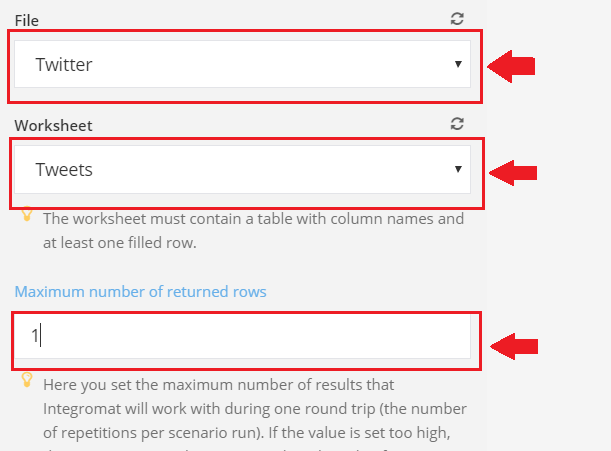
In the File field, specify which file Integromat should grab the data from. In our case it is the Twitter file.
Once you have chosen the filename, the Worksheet field will automatically appear, (in a worksheet, there can be many sheets listed) we will choose the Tweets sheet since that is the sheet we want to base our scenario off of
As for the Maximum number of returned row, specify how many results your Twitter account should grab from the Google Sheet. In our example, we will use 1 and get the unprocessed rows one by one and not all at once from our Google sheet.
But if we want to process all of the unprocessed rows all at once, then we should set the limit to a higher value
(For example: 100 or higher)
After that, we just click the OK button.
Step 6
After clicking the OK button another tab will appear:
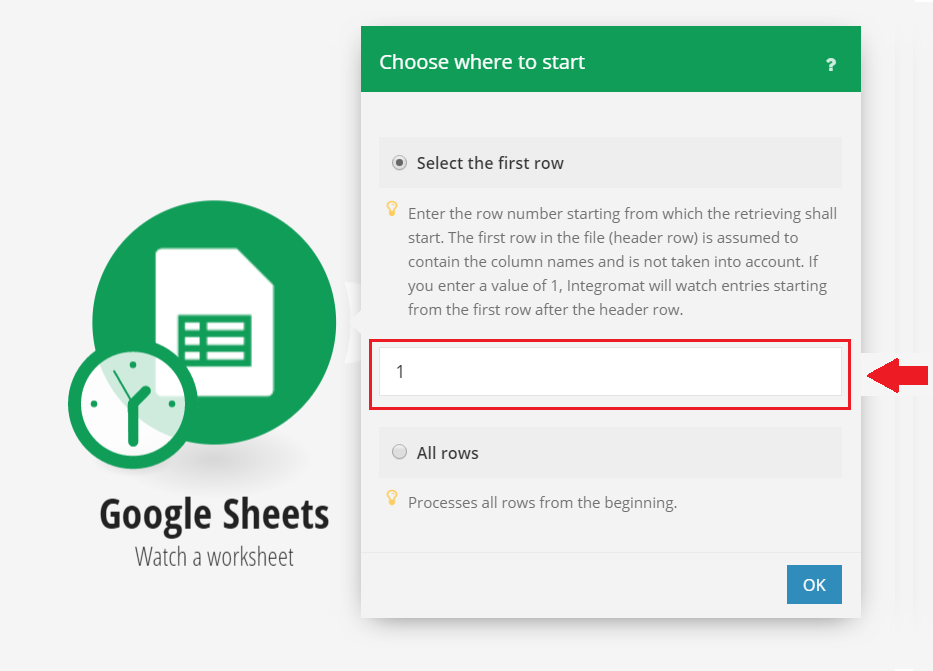
In this field, type in the number where you want Integromat to choose the data from (number of row in the Google Sheet.) Kindly note that the header of the column will omit the counting. That is why we put the number 1. (So it starts at the 2nd row.)
And, then click the OK button.
Step 7
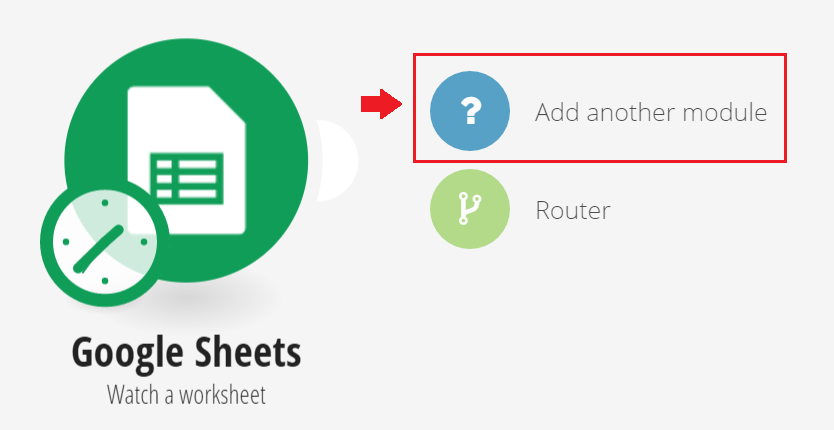
The next is to connect our 1st module to our Twitter account.
We select the Add another module button.
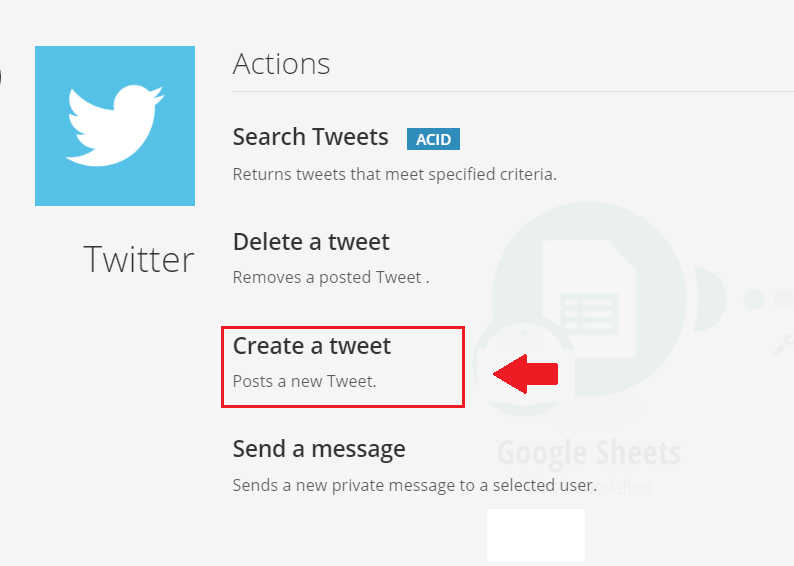
We select another app; Twitter app.
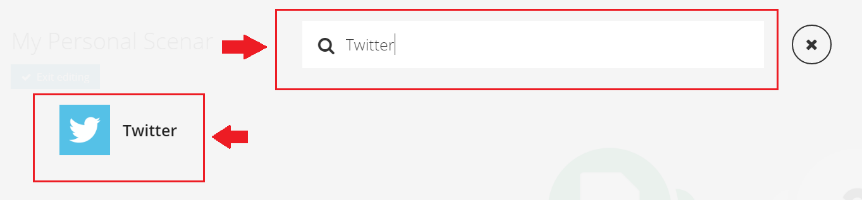
Same as in the Google Sheets app, now we have to choose our specific module on what we want Twitter to do after Integromat monitors our Google sheet. In this case, we want Twitter to post a new tweet based on the current tweet that was inputted in the Google sheet tweet column.
Once we click on the module another tab will appear in the scenario.
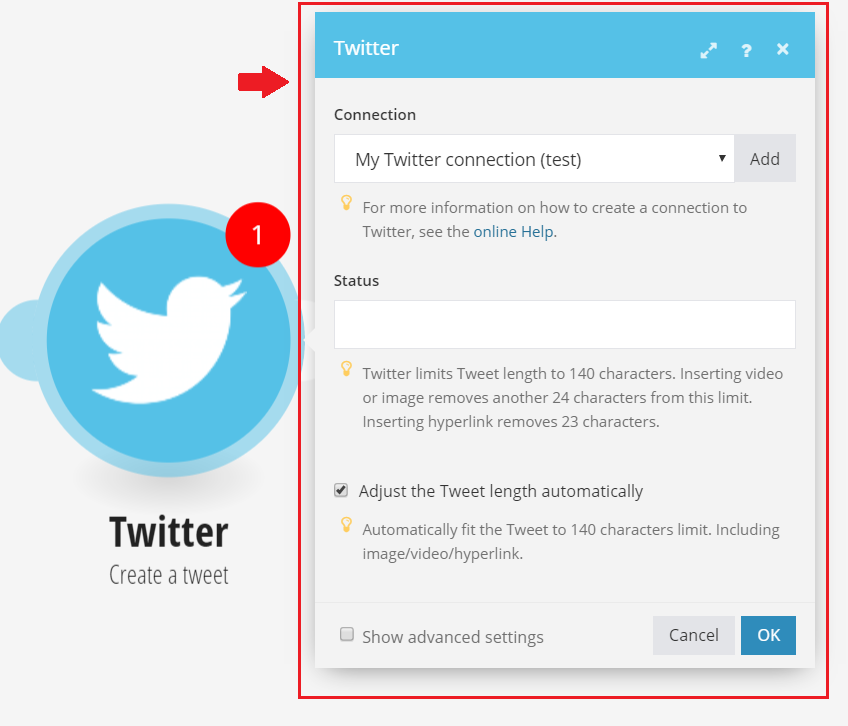
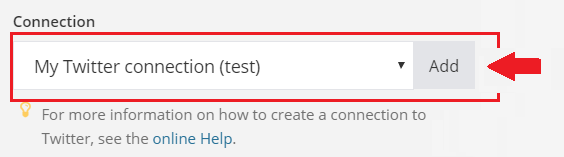
Same with the Google Sheets connection, add your Twitter connection to the scenario. (Twitter account).
Click the Add button.
Click the Save button.
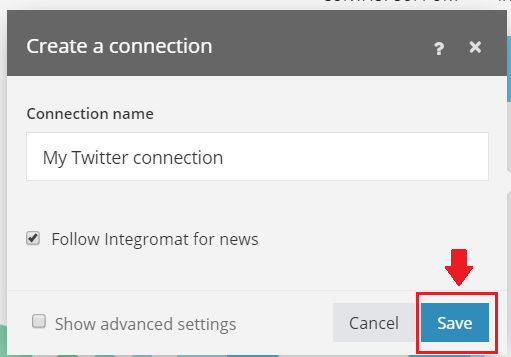
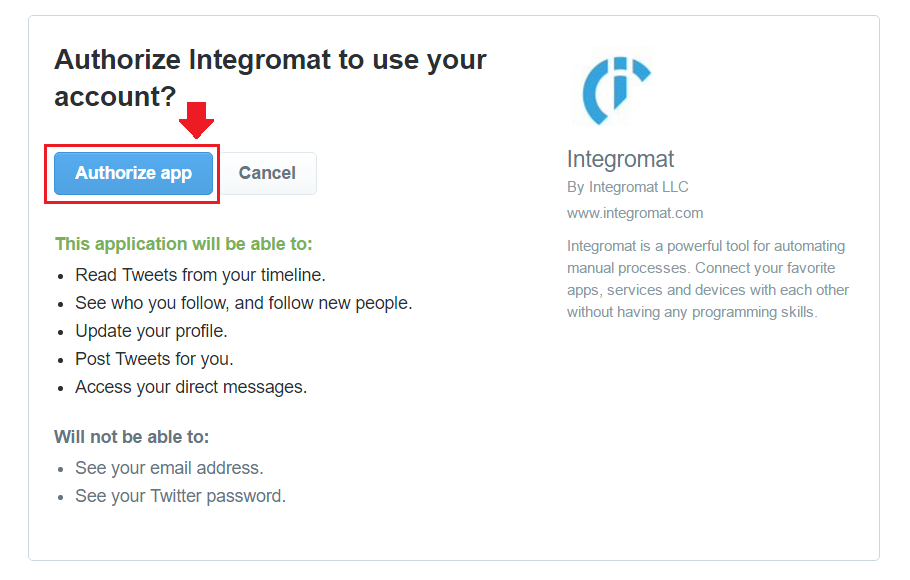
In the new window click the Authorize App button, so that Integromat can access your Twitter account and link it to the Google Sheets module.
After authorizing your Twitter account, we now have to set the status.
Once you click on the Status field, another tab will open.
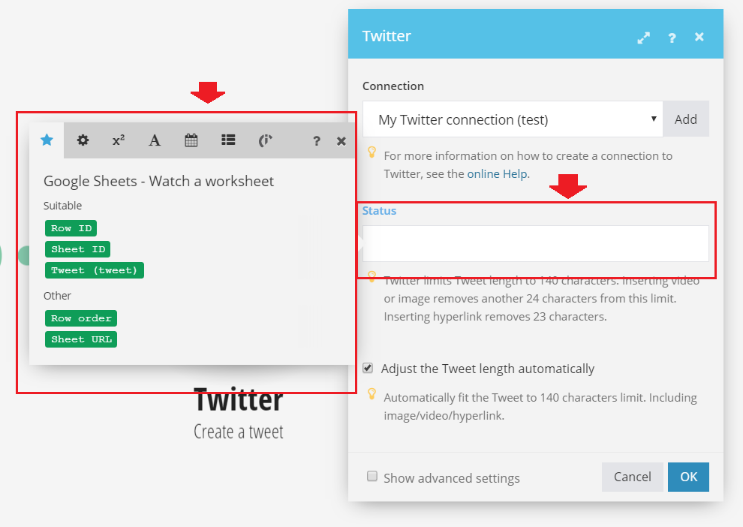
In this field, specify which column we want to grab from the Google sheet which will then be redirected to the Twitter account.
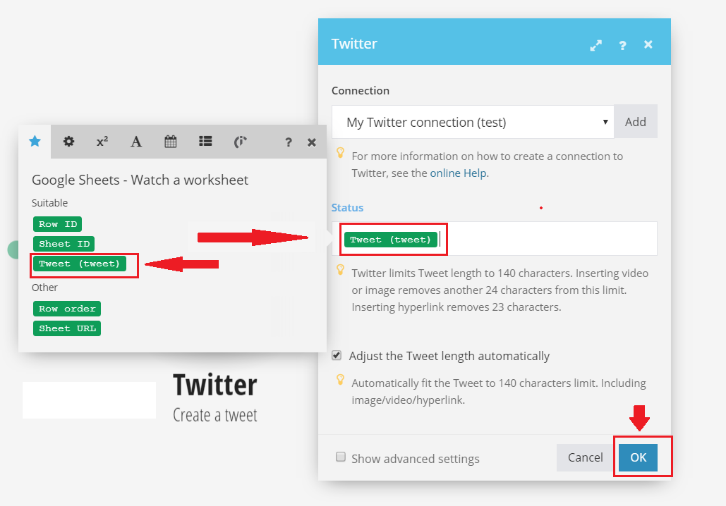
In this case, we will select the Tweet (tweet) value.
Drag and drop the Tweet (tweet) value to the Status field and click OK.
Step 8
Once you have clicked on the OK button, you’re scenario is complete.

Step 9
Save your scenario.
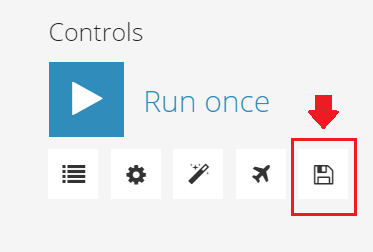
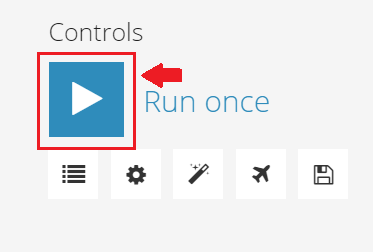
Once you click on the Run button, the scenario will run only once until you activate your scenario with the specified time cycle.
After executing, look at the scenario.

Only the Google Sheets module turned up green and the Twitter module did not turn green that is because our Google sheet is empty.
Step 10
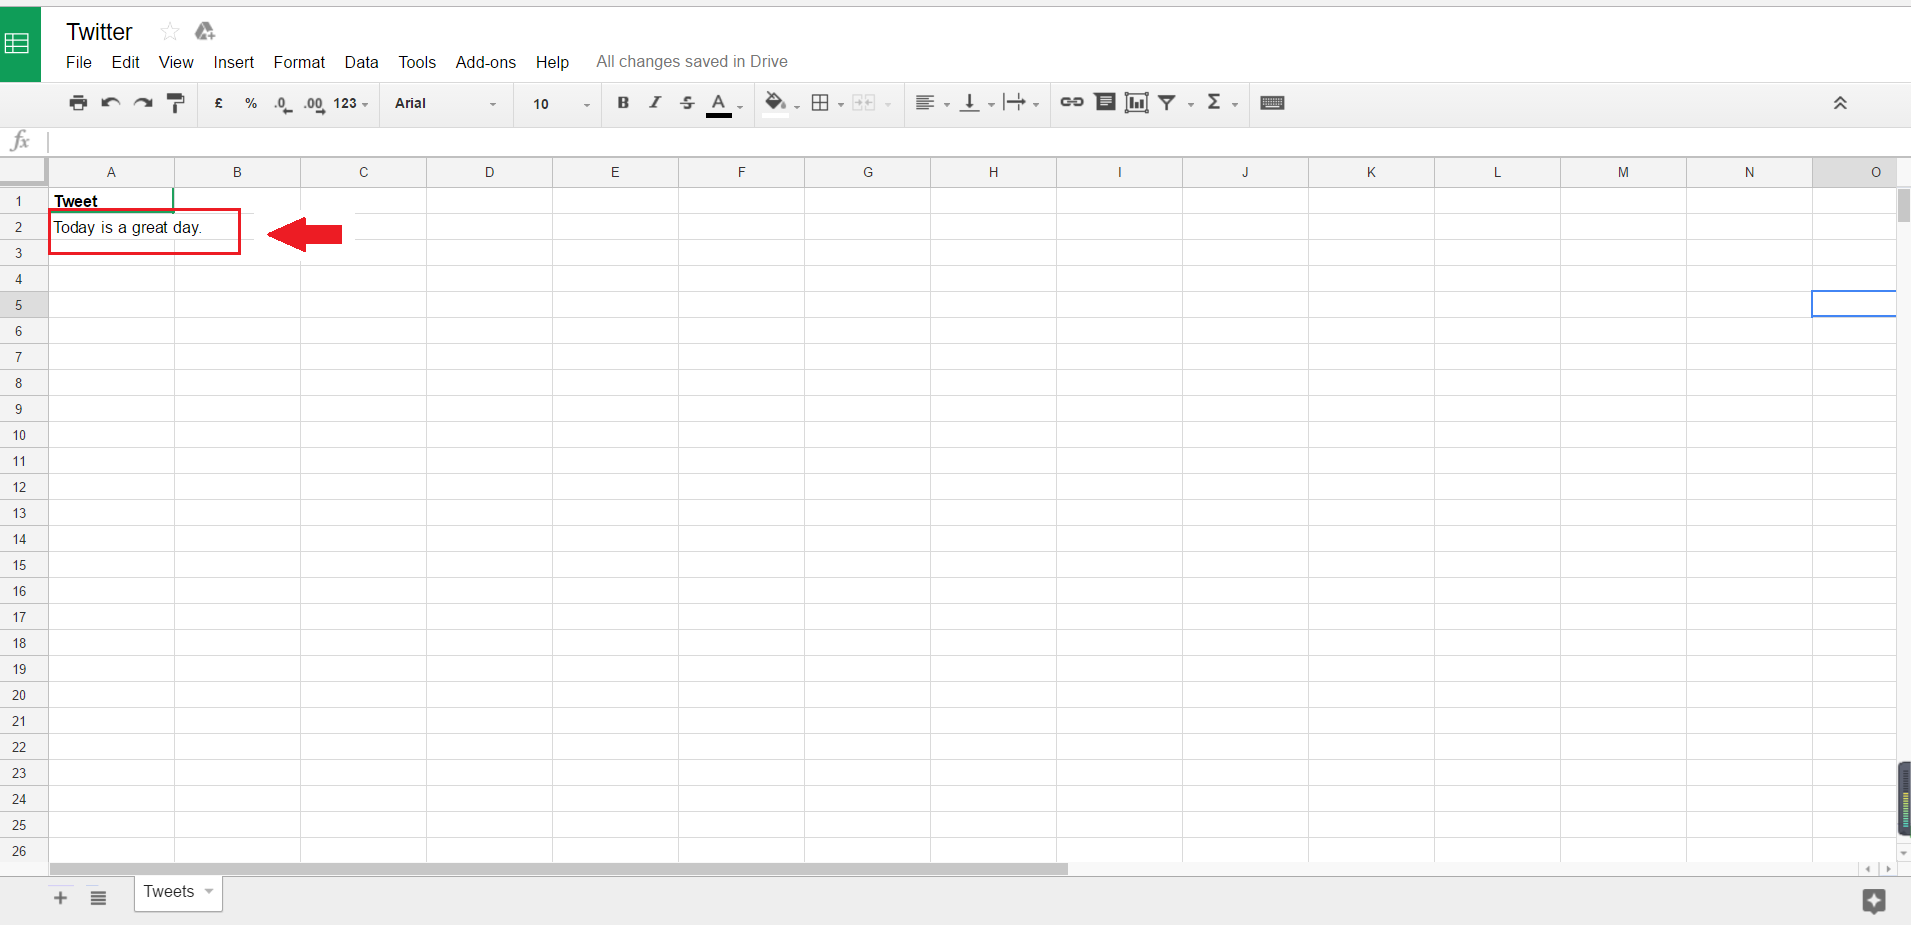
Inputting data into our Google sheet.
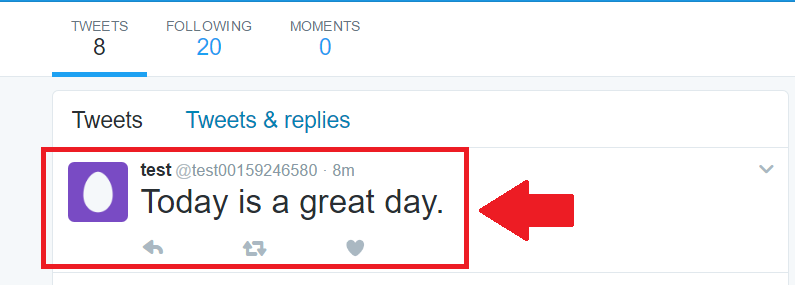
Now, we have entered a Tweet under the Tweet column. Today is a great day.
Once we run the scenario again, notice how the Twitter module turns green.
And then a Twitter post was created automatically.
That means that there was data processed and the result was established.
Step 11
Setting up your scenario for daily use.
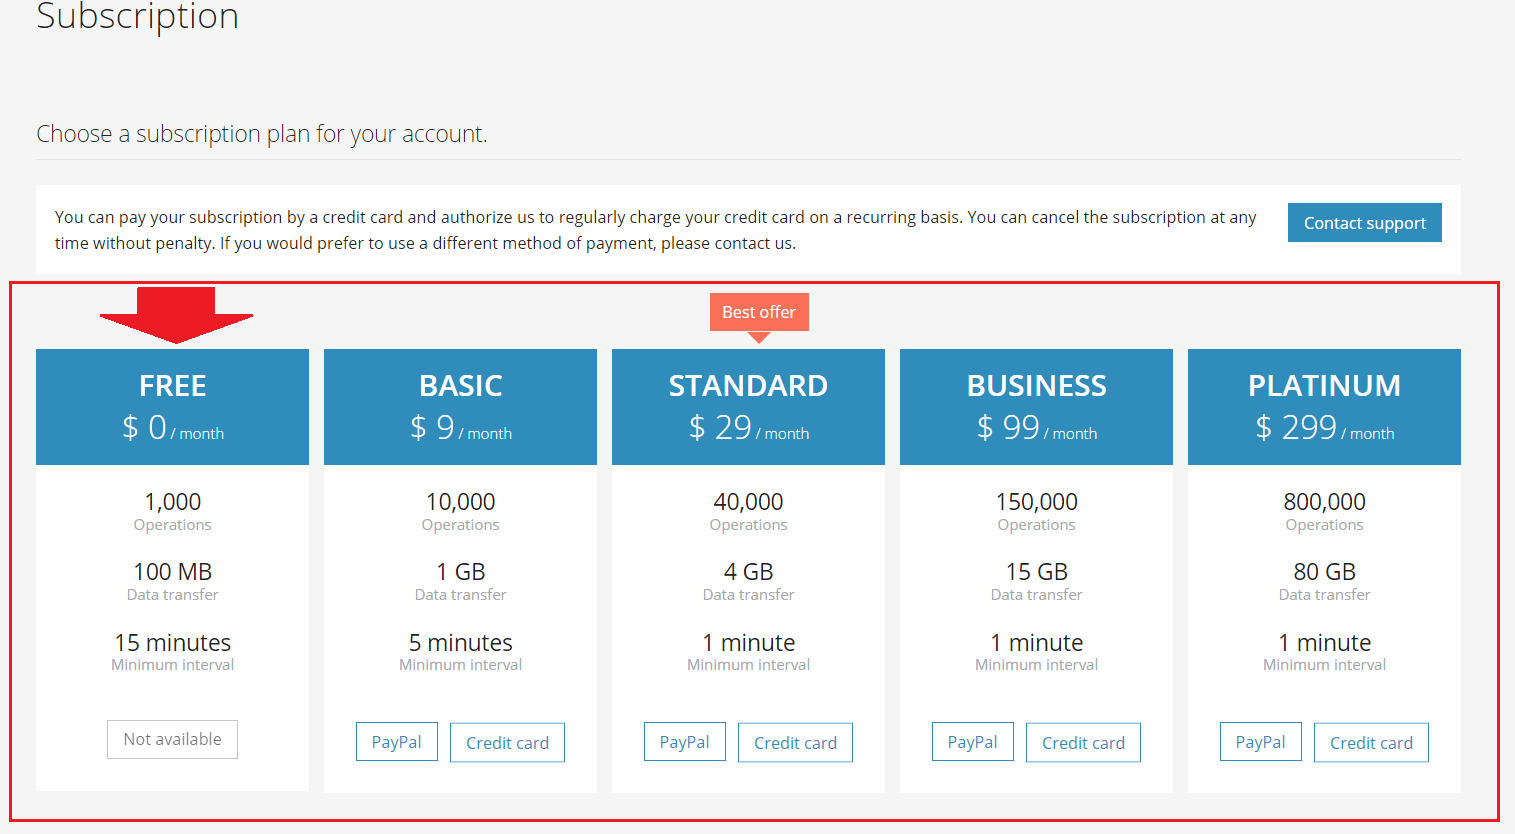
Now, we want to run our scenario in a way that we want it to run every 15 mins. (depending on your subscription plan).
Click on the clock that is under the Google Sheets app.

A new tab will open. If you click the dropdown button in the Run Scenario field, you have these options.
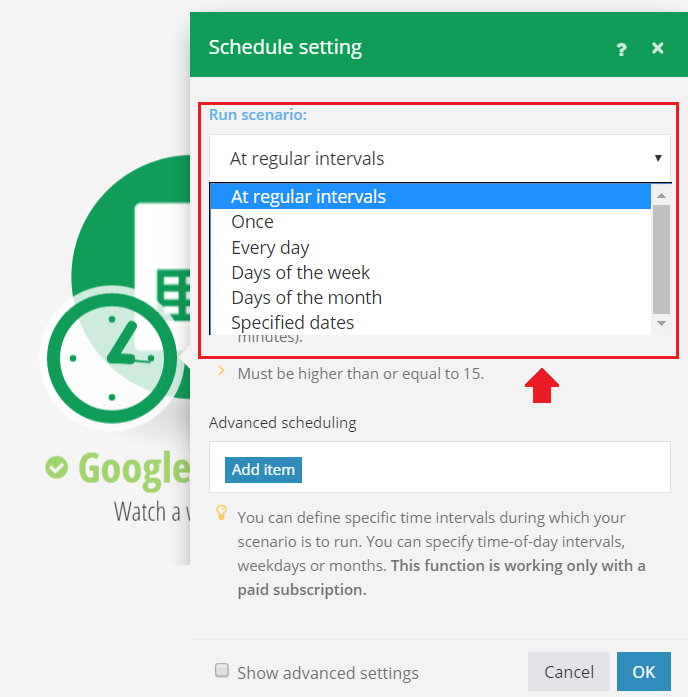
But in this case we want to run it every 15 minutes, so choose the At regular intervals option.
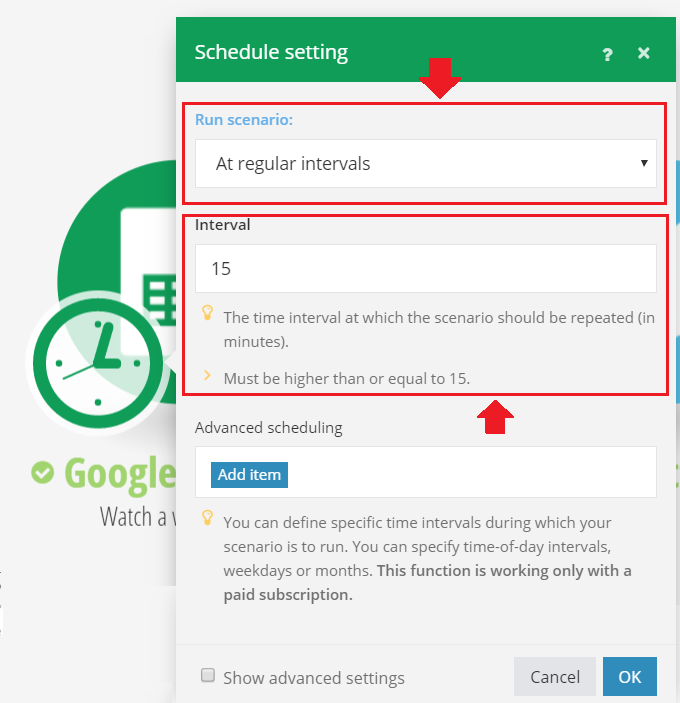
As for the interval of the Schedule setting”, we can set it to 15 minutes, since that is the minimum limit for a free plan.
Once we have that, click the OK** button.
Step 12
The last thing we have to do is activating the scenario so we do not have to execute the scenario all the time, but it will run itself by the interval we have set which is 15 mins.
Click on the Exit Editing button.
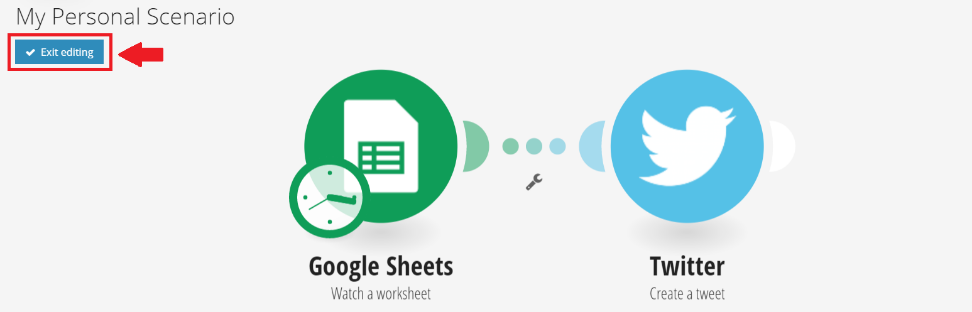
As you can notice, it will exit the editing mode.
After that, turn on your scenario to activate it.
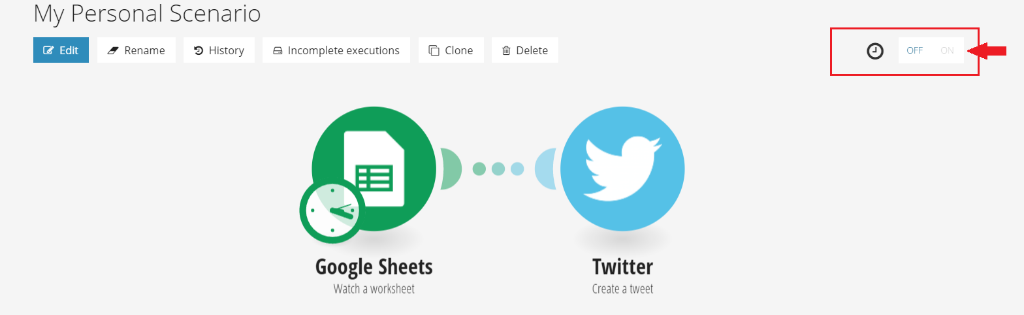
Now, your scenario is done. Every time you input something new to the Google sheet under the Tweet column, Integromat will get the current data filled in every 15 mins and posts it to your Twitter account automatically.


